The Right Way to Take Pots Off the Wheel
Understanding the Challenge
When you’ve just finished shaping your pot, it’s still incredibly soft and delicate. The clay clings to the wheel head, and any misstep in removing it can lead to warping, smudging, or even total collapse. If your wheel head has bat holes, you’re in luck—you can throw directly onto a bat and lift the entire thing. But if your wheel lacks bat holes, you need to use the right technique to free your pot without damaging it.
Many beginners assume they can simply peel the pot off the wheel with their fingers. Unfortunately, this almost always leads to disaster—misshapen walls, fingerprints, or even the entire pot collapsing.
The key is to make the process as smooth as possible, preparing both the pot and the wheel for an easy lift.
Preparing the Pot for Removal
Before you even think about lifting, you need to clean up the excess slip. Slip is the liquid clay that forms during throwing, and if it’s left on the pot, it can interfere with drying and make handling difficult.
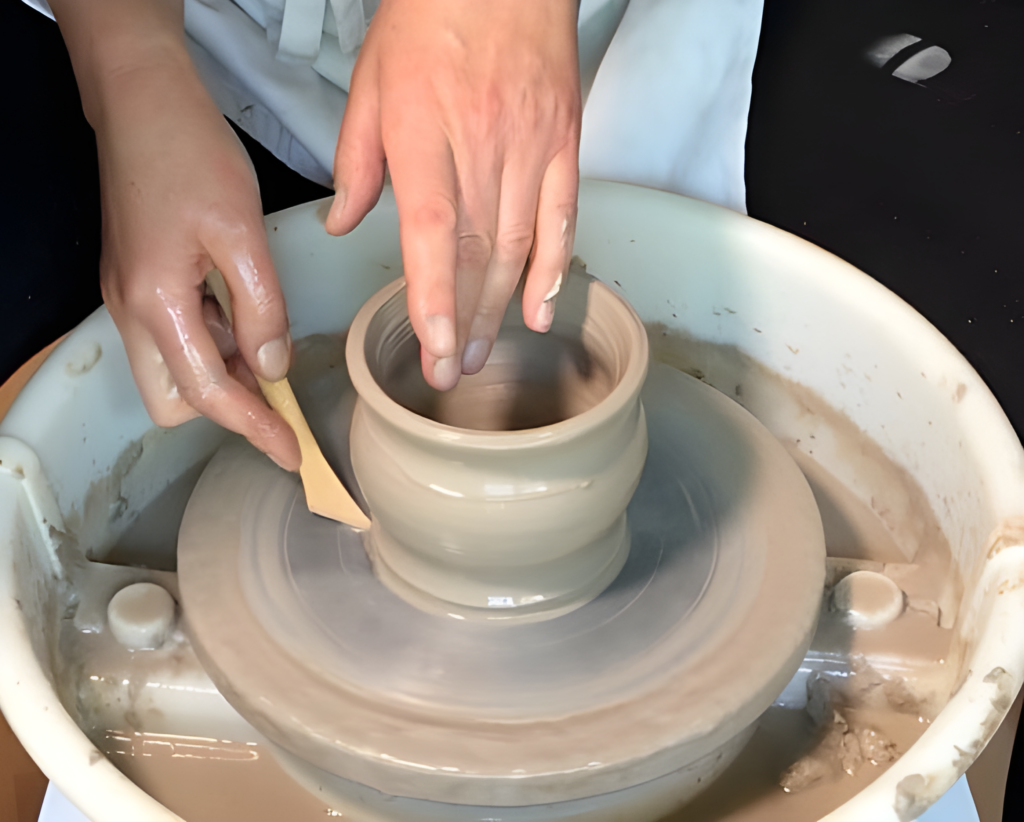
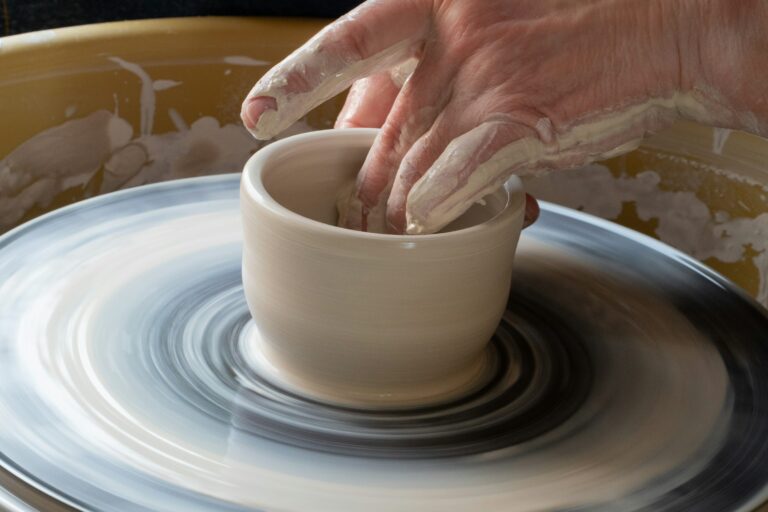
Start by tidying the base. While the wheel is still spinning slowly, use a wooden tool to gently smooth the lower edges. This helps define the form and ensures that no excess clay remains.
Next, take a slightly damp sponge—never soaking wet—and remove any standing slip from inside the pot. This step is crucial because if the base retains too much moisture, it will dry unevenly, increasing the risk of cracks.
Think of it as setting your pot up for success. A clean, well-prepared surface makes lifting the pot much easier and prevents unwanted sticking.
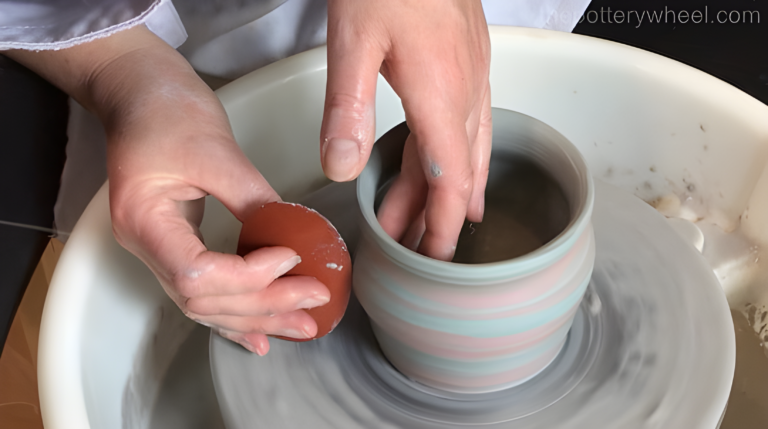
Finally, use a soft rubber rib to remove any slip from the outside of the pot. This not only gives a neater finish but also makes the surface slightly drier, reducing the chances of your fingers sticking to the pot when you lift it.
Loosening the Pot from the Wheel
Now that the pot is clean, it’s time to free it from the wheel head. This step requires patience and precision.
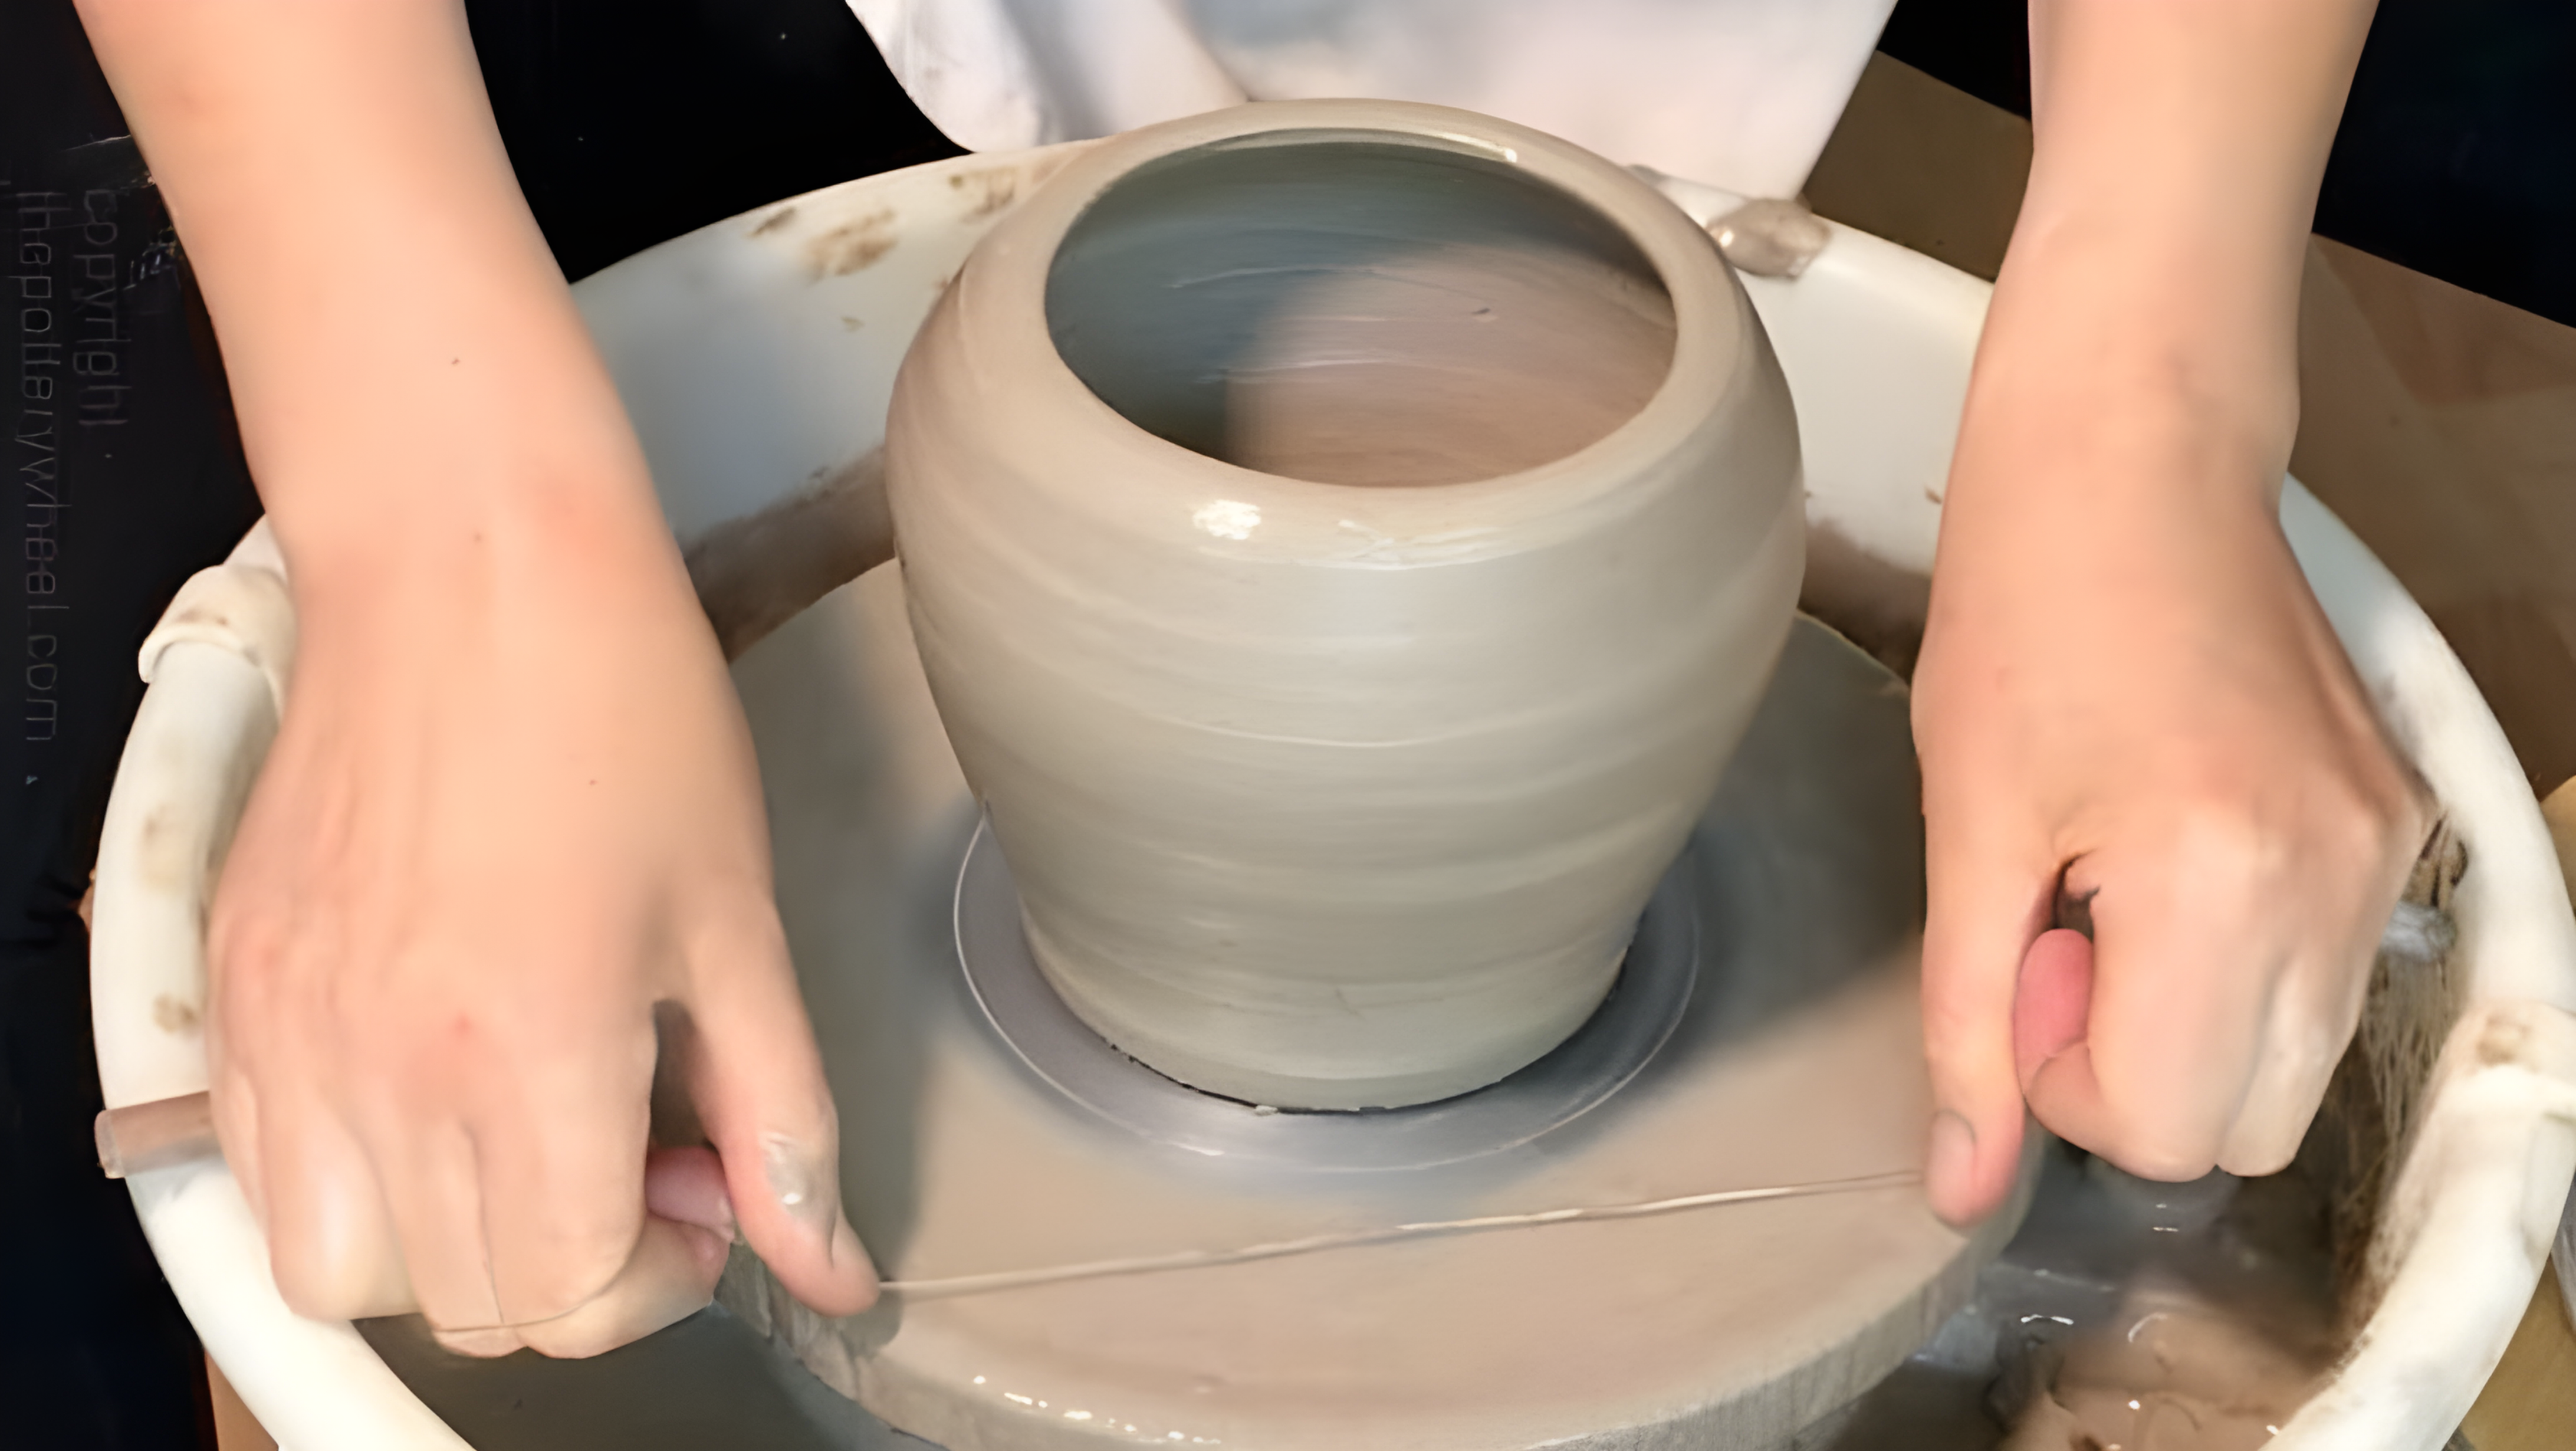
Sprinkle a few drops of water around the base of the pot—not too much, just enough to create a thin barrier between the pot and the wheel. Then, take a clay cutting wire, hold it taut with both hands, and carefully slide it under the pot in a smooth motion. <blockquote>Be mindful of the tension in the wire. If you let it slacken at the end, it may cut into the base of the pot, creating an uneven bottom.</blockquote>
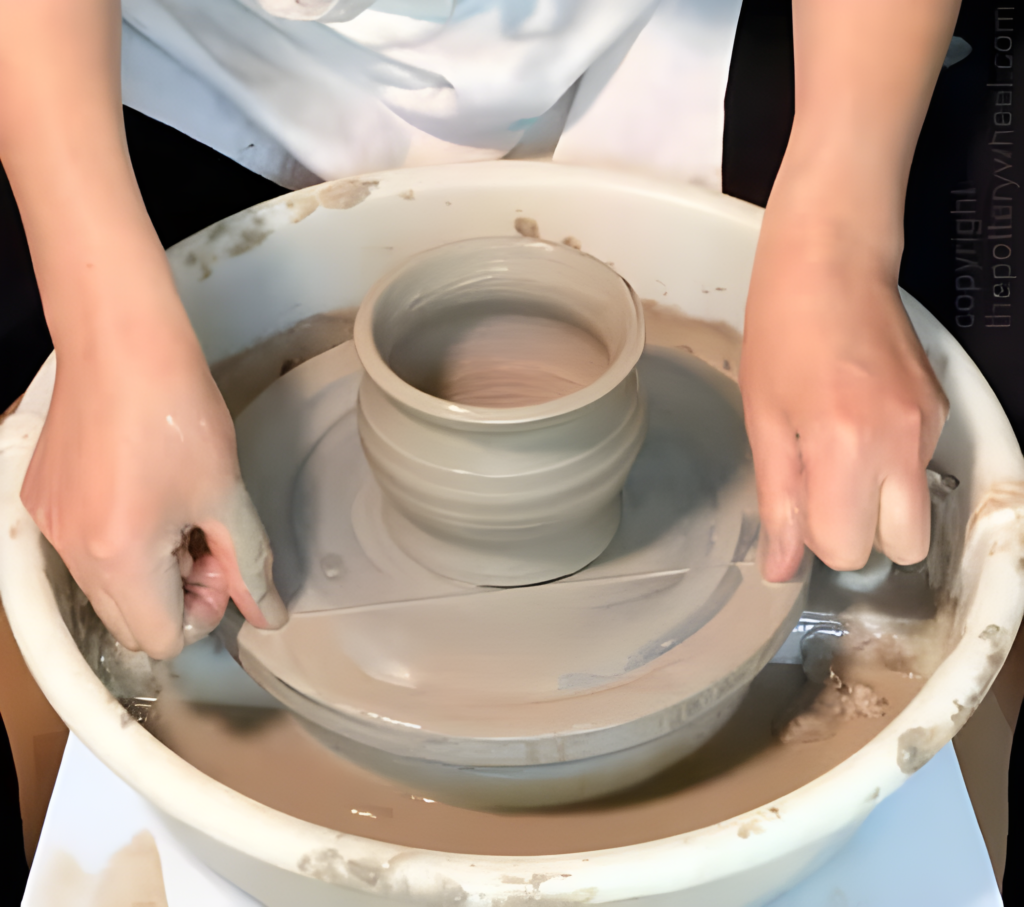
Once the first pass is complete, clean any clay residue off the wire and repeat the process. The second pass should feel smoother, and you might notice a slight shift in the pot—this means it’s ready to move.
Lifting the Pot Without Distorting It
Now comes the most delicate part: transferring your pot to a drying surface. Keep your workspace prepared with a wooden bat or a drywall board nearby so that you minimize the time your hands are in contact with the pot.
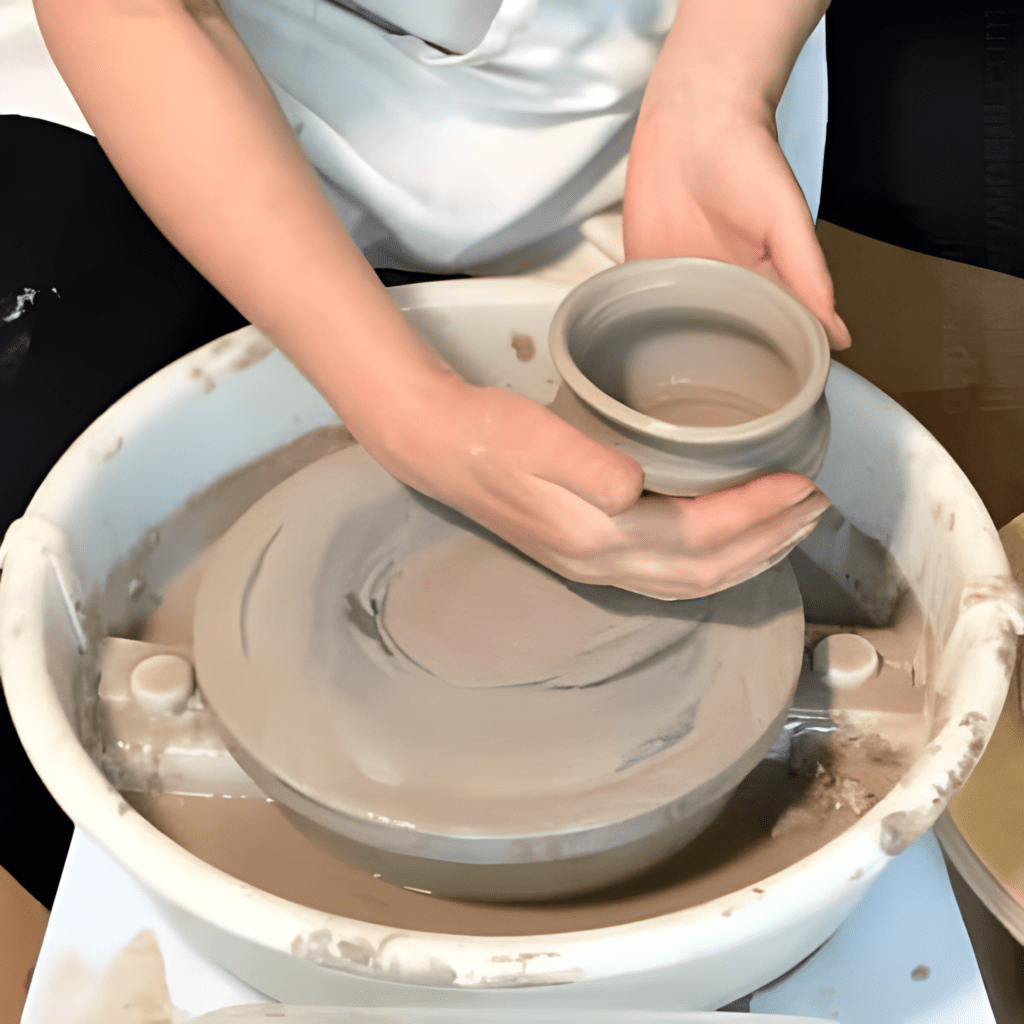
Dry your hands completely—moisture can make the pot stick to your fingers. Then, gently coax the pot toward the edge of the wheel head using a soft twisting motion. Once the pot reaches the edge, support it with both hands, keeping your touch as light as possible. <blockquote>Don't panic if the pot bends slightly as you lift it. Freshly thrown pots are flexible, and their shape will settle once placed on a stable surface.</blockquote>
Place the pot onto the prepared board with minimal handling. Avoid shifting it once it’s down, as moving it again may cause warping.
Removing a pot from the wheel can feel daunting at first, but with practice, it becomes second nature. By preparing the pot properly, loosening it with precision, and lifting it with care, you can transition from the wheel to drying without a single dent or distortion.
It might take a few tries to get comfortable with the process, but soon enough, you’ll be lifting pots effortlessly—ready for the next stage of their transformation.