Crafting Unique Ceramic Ornaments with Paint
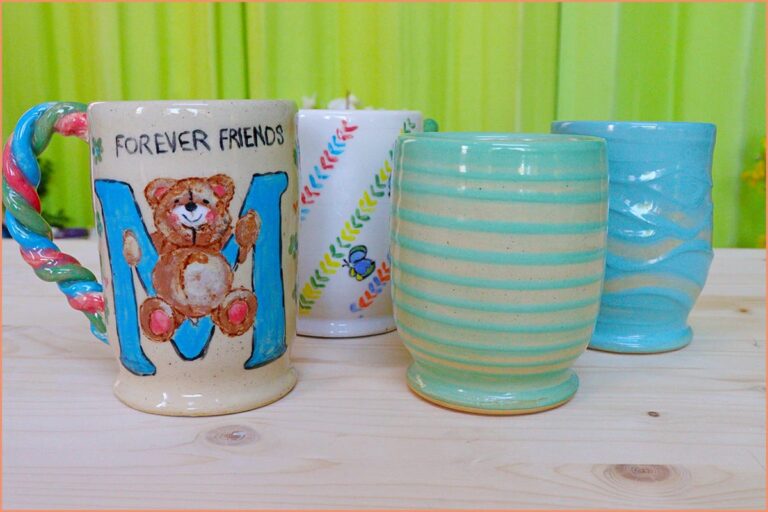
Painting ceramic ornaments is more than just a creative pastime—it's a way to add a personal touch to decorations, gifts, and keepsakes. Unlike store-bought ornaments, hand-painted ceramics carry individual stories, memories, and artistic flair, making them truly special. Whether you’re customizing holiday decorations, experimenting with different painting techniques, or simply looking for a new hobby, this guide will walk you through everything you need to know to achieve professional-looking results.
Hand-painted ceramic ornaments are more than decorations; they’re miniature works of art that capture moments, emotions, and creativity in every brushstroke.</blockquote>
Why Handmade Ornaments Are So Special
Handmade ornaments are more than just decorative pieces. They carry stories, emotions, and a personal touch that sets them apart from mass-produced alternatives. Whether crafted for a special occasion, as a heartfelt gift, or simply to add charm to a space, each handmade ornament is infused with creativity and meaning. But what exactly makes them so special? Let’s explore.
A Reflection of Creativity and Skill
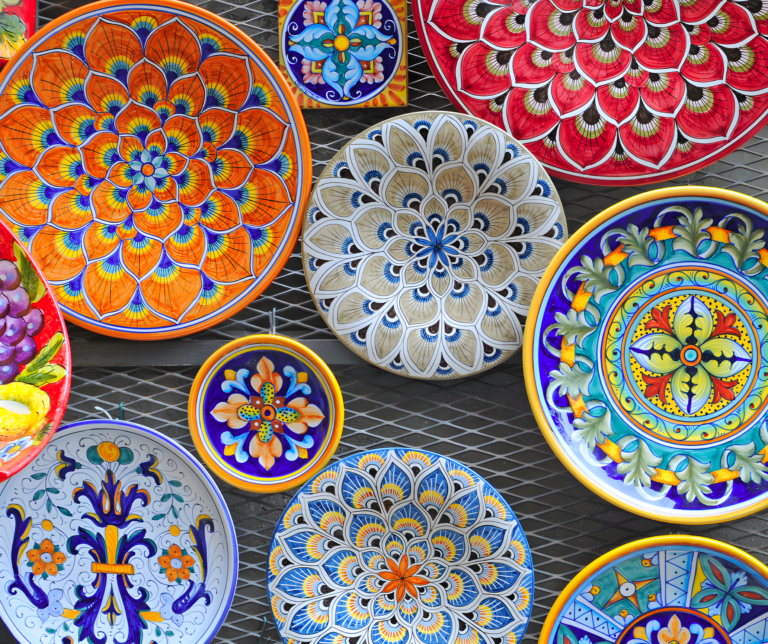
Every handmade ornament is a work of art, reflecting the unique vision of its creator. Unlike factory-made decorations, which follow a standard template, handcrafted pieces allow for artistic expression. Whether it’s a delicately painted ceramic bauble or a sculpted clay figure, the time and effort invested in each piece make it truly one of a kind.
Unlike mass-produced ornaments, handmade decorations often feature slight imperfections, which only add to their charm and authenticity.
The process itself requires skill and patience. Artists and crafters experiment with different materials, techniques, and finishes to bring their ideas to life. This dedication results in ornaments that are rich in detail and character, making them stand out in any setting.
Personalized and Meaningful
One of the most beautiful aspects of handmade ornaments is their ability to hold personal significance. Whether it’s an ornament commemorating a special moment, a piece customized with a name or date, or simply a design that speaks to someone’s heart, these decorations carry a deeper meaning.
Gifting a handmade ornament adds a level of thoughtfulness that store-bought gifts often lack. Knowing that someone took the time to craft something unique makes the gift even more special.
A handmade ornament isn’t just an object; it’s a memory, a story, and a piece of someone’s heart.
Tradition and Timelessness
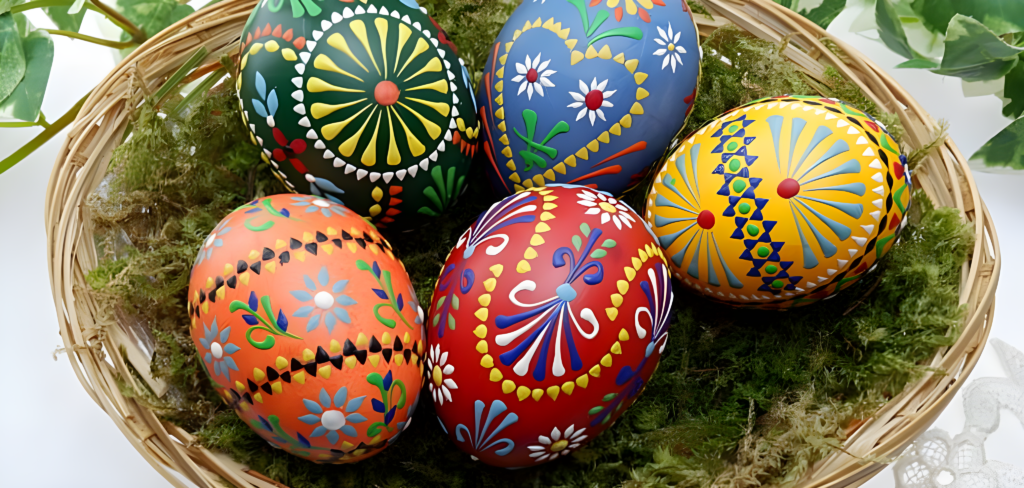
Many families treasure handmade ornaments as heirlooms, passing them down from generation to generation. These pieces become part of family traditions, bringing back memories of past celebrations and loved ones. A handmade Christmas ornament, for example, may remind someone of childhood holidays spent with family, creating a sense of nostalgia and warmth.
Unlike trendy mass-produced decorations that fade out of style, handmade ornaments have a timeless appeal. Their uniqueness and sentimental value ensure that they remain cherished for years to come.
Supporting Artisans and Small Businesses
In a world dominated by mass production, choosing handmade ornaments also means supporting independent artists and small businesses. Each purchase contributes to the livelihood of skilled artisans who put their passion and craftsmanship into their work.
Beyond financial support, it also encourages traditional crafts to thrive. Pottery, glasswork, embroidery, and woodcarving are just a few of the many art forms that are kept alive through handmade ornament making. By appreciating and investing in handmade goods, we help preserve these creative traditions for future generations.
Sustainability and Ethical Choices
Handmade ornaments often align with more sustainable and ethical production practices. Many artisans use locally sourced, eco-friendly materials and avoid the waste and pollution associated with mass manufacturing. Handmade decorations tend to be more durable and cherished, reducing the cycle of disposable consumerism.
Choosing handmade isn’t just about aesthetics—it's a conscious decision to value quality, sustainability, and human creativity.
The Emotional Connection
At the heart of handmade ornaments lies an emotional connection. Whether it’s the joy of creating one yourself, the excitement of receiving a handcrafted gift, or the nostalgia of rediscovering a cherished piece each year, these ornaments evoke feelings that go beyond simple decoration. They become part of our homes, our traditions, and our memories.
In a world where everything is becoming more automated and impersonal, handmade ornaments remind us of the beauty in human touch, creativity, and personal expression. And that’s what makes them truly special.

Materials You’ll Need
Choosing the right materials is the foundation of creating beautiful and lasting handmade ornaments. The materials you select will influence not only the appearance of the final piece but also its durability, texture, and overall aesthetic. Whether working with clay, glass, wood, or fabric, each medium offers unique possibilities for creativity. Let’s take a closer look at the essentials you’ll need for crafting handmade ornaments.
Base Materials for Handmade Ornaments
The choice of base material depends on the desired look and function of the ornament. Some of the most popular options include:
- Clay — Perfect for sculpting and shaping, clay allows for intricate detailing and a smooth, polished finish. Air-dry clay is ideal for beginners, while kiln-fired ceramics provide more durability.
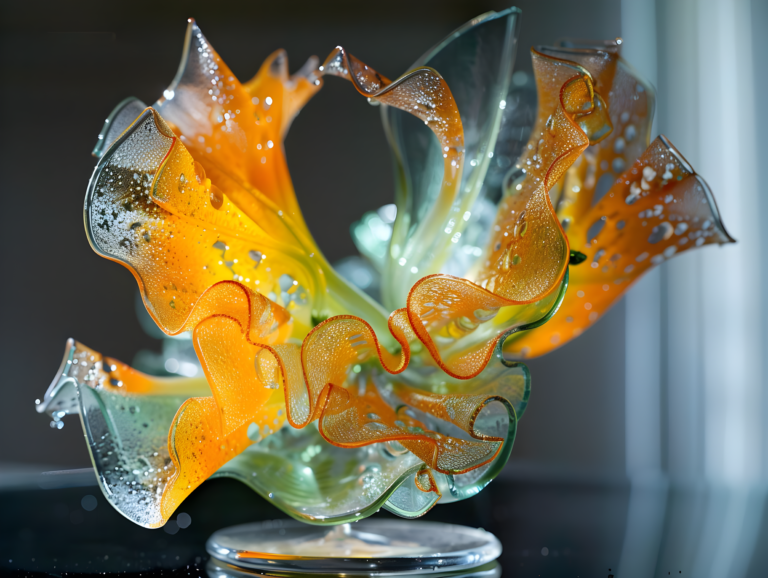
- Glass — Stained, fused, or blown glass ornaments create a stunning, delicate aesthetic. These require specialized tools and techniques but result in breathtaking, light-catching decorations.
- Wood — A versatile and sturdy option, wood ornaments can be cut, carved, burned, or painted. Wooden slices with natural grain patterns add a rustic charm.
- Fabric and Felt — Soft ornaments made from felt or embroidered fabric bring warmth and a handcrafted touch, perfect for seasonal decor. They can be stuffed for a 3D effect or left flat for a more delicate look.
- Paper and Cardstock — Used for origami, quilling, or decoupage, paper ornaments are lightweight and can be made in endless designs. Coating them with varnish or resin adds durability.
Paints and Finishing Materials
The right paints and finishes enhance the ornament’s beauty and ensure longevity. Depending on the base material, different types of paints and coatings will work best:
- Acrylic Paint — Fast-drying and vibrant, acrylic paint adheres well to most surfaces, including wood, clay, and ceramics. It allows for layering and intricate details.
- Enamel Paint — Provides a glossy, long-lasting finish, especially on glass and ceramics. Some enamel paints require heat curing for durability.
- Glazes and Varnishes — Used to seal and protect the ornament’s surface, glazes add either a glossy or matte finish. For clay ornaments, a kiln-fired glaze creates a durable, waterproof coating.
- Metallic and Glitter Finishes — Special-effect paints or powders can add shimmer and elegance to the design, perfect for festive ornaments.
The right combination of paint and sealant ensures that your ornament remains vibrant and protected for years to come.
Tools for Shaping and Decorating
Crafting handmade ornaments often requires specialized tools, depending on the material and technique used:
- Sculpting Tools — Essential for working with clay, these help refine details, add textures, and create smooth edges.
- Brushes and Sponges — A variety of brushes is needed for painting, detailing, and blending colors. Sponges can be used for soft shading or textured effects.
- Cutting Tools — Precision knives, scissors, or laser cutters are useful for shaping wood, paper, and fabric ornaments.
- Stamping and Engraving Tools — Ideal for adding patterns, names, or intricate designs onto clay, wood, or metal ornaments.
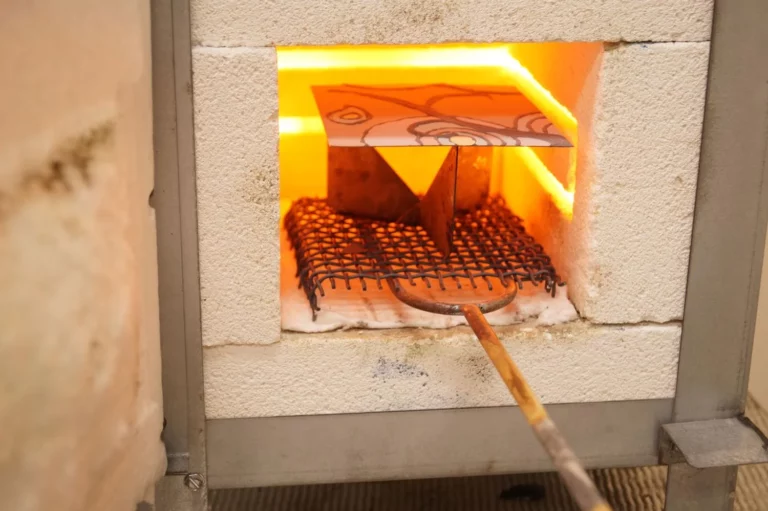
- Kiln or Oven — Necessary for firing ceramics and some types of glasswork, ensuring a hardened and finished piece.
Adhesives and Assembly Materials
Some ornaments require additional materials for assembly, attachment, or embellishment:
- Glue and Adhesives — Strong, material-specific glues (such as wood glue, fabric glue, or ceramic adhesives) help secure parts together.
- Thread and Wire — Used for hanging ornaments, fine metallic wires or natural twine complement different styles.
- Beads and Embellishments — Small decorative elements like sequins, charms, or crystals can enhance the ornament’s overall look.
Quality materials make a significant difference in the final outcome—choosing durable, well-suited supplies ensures that handmade ornaments last for years.
By carefully selecting the right materials and tools, you set the stage for a smooth creative process and a beautiful, unique ornament that reflects your personal style.
Step-by-Step Guide to Painting Ceramic Ornament
Painting a ceramic ornament is a rewarding and creative process that transforms a plain surface into a unique and personal piece of art. From preparation to finishing touches, each step plays a crucial role in achieving a smooth, vibrant, and long-lasting design. Let’s walk through the process in detail.
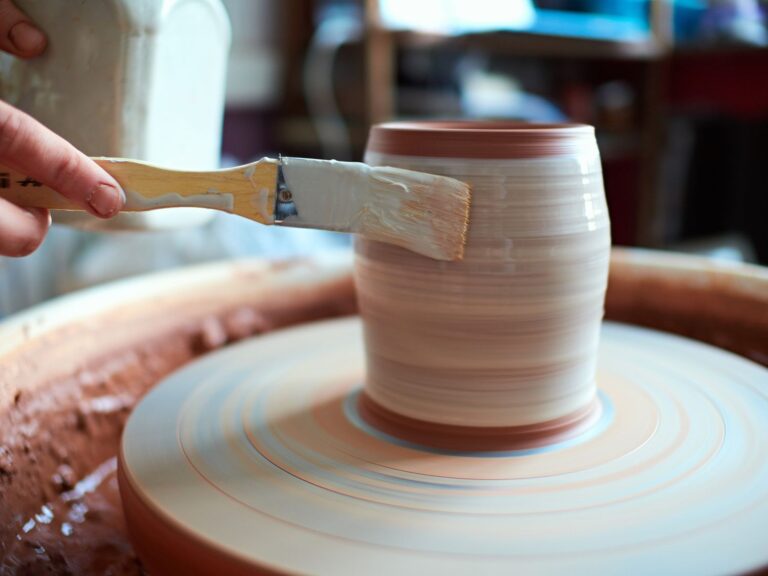
1. Preparing the Ceramic Surface
Before applying any paint, the ceramic ornament needs to be thoroughly cleaned to ensure proper adhesion. Even small amounts of dust, oil, or residue can cause uneven coverage or peeling.
Start by washing the ornament with warm water and mild dish soap, using a soft sponge or cloth to remove any dirt. Rinse well and allow it to dry completely. If the ceramic surface is glossy or glazed, lightly sand it with fine-grit sandpaper (220−400 grit) to create a slightly rough texture that helps the paint adhere better. Wipe away any sanding dust with a dry cloth.
Skipping surface preparation can lead to paint not sticking properly or peeling over time. Taking a few extra minutes to clean and sand the piece ensures a smooth and durable finish.
2. Applying a Primer for Better Adhesion
A primer acts as a base coat that helps the paint grip onto the ceramic surface. This is especially important for non-porous ceramics, where paint alone might struggle to adhere.
Use a spray or brush-on primer designed for ceramics or glass. Apply a thin, even layer and allow it to dry completely according to the manufacturer’s instructions. This step not only improves adhesion but also enhances color vibrancy by creating a neutral base.

3. Choosing the Right Paint and Brushes
Selecting the appropriate paint is essential for both aesthetics and durability. Acrylic paints are the most common choice for ceramic ornaments due to their ease of use, fast drying time, and wide range of colors. For a more durable finish, ceramic-specific paints or enamel paints can be used, especially if the ornament will be exposed to moisture or frequent handling.
Choose a variety of brushes to suit different techniques. Fine-tipped brushes work well for intricate details, while flat or round brushes are better for larger areas and smooth coverage. A sponge can also be useful for creating textured effects.
4. Painting in Thin, Even Layers
When applying paint, multiple thin layers are preferable to a single thick coat. Thick layers tend to streak, clump, or take longer to dry, leading to an uneven finish.
Start with a base coat and let it dry completely before adding additional layers or details. Each layer should be fully dry before moving on to the next to prevent smudging or peeling. If blending colors or creating gradients, work while the paint is still wet to achieve smooth transitions.
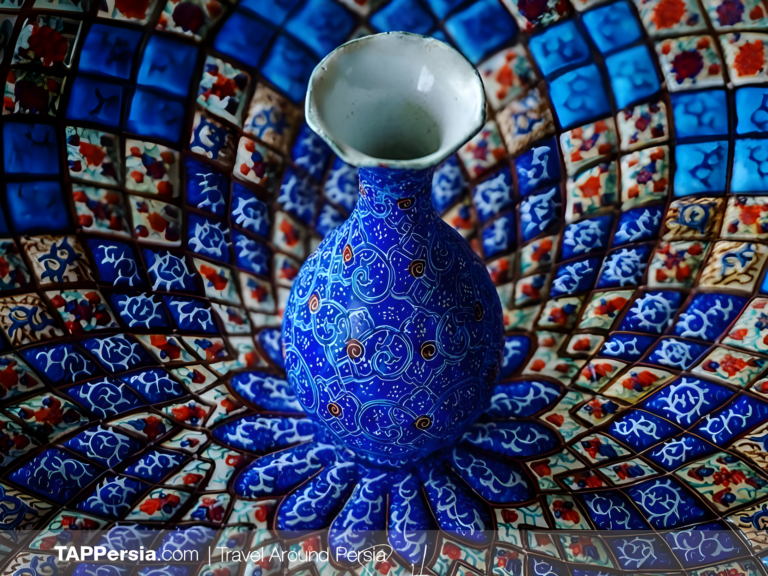
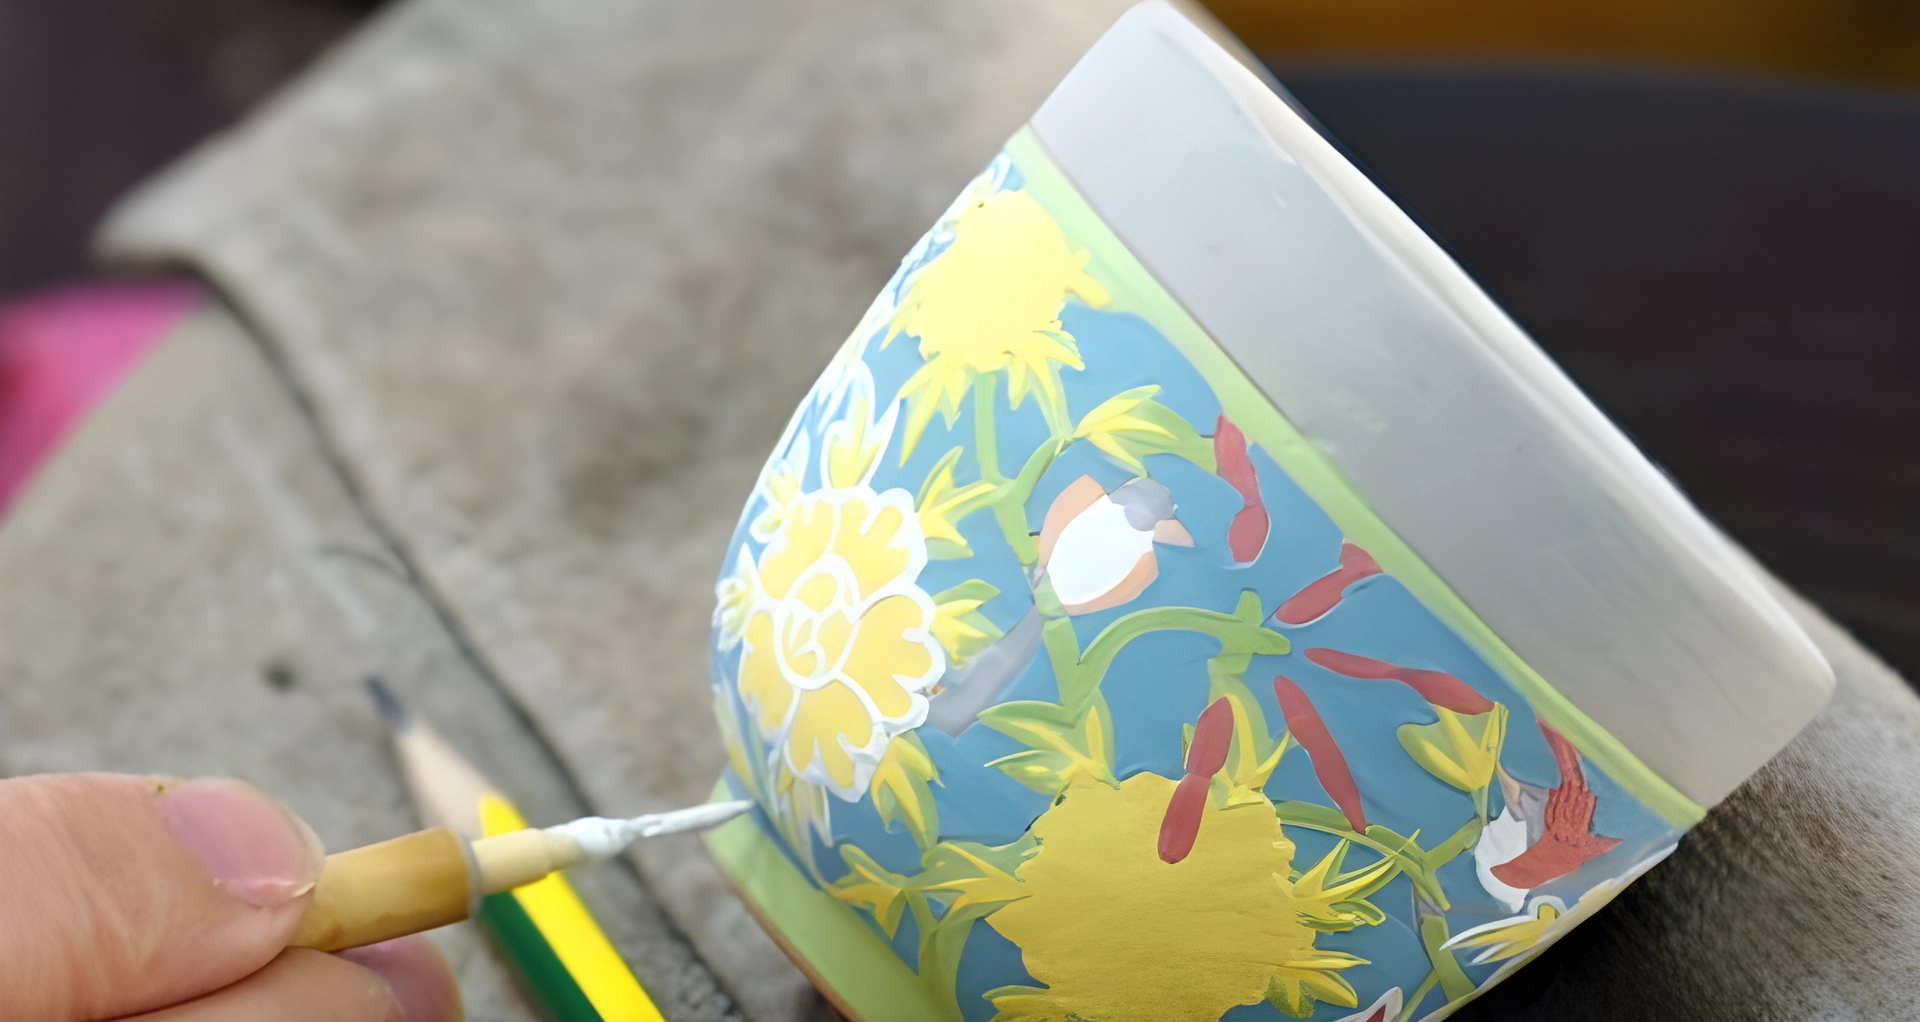
5. Adding Details and Special Effects
Once the base colors are applied, it’s time to enhance the design with details and effects.
- Fine Brushes for Intricate Patterns — Use a fine-tip brush to paint delicate designs, lettering, or decorative patterns.
- Stencils for Consistent Shapes — If precision is needed, secure a stencil onto the ornament and dab paint over it with a sponge or brush.
- Sponges for Blended or Textured Effects — Lightly dabbing with a sponge can create a soft gradient or a textured appearance.
- Acrylic Markers for Sharp Details — Paint pens or markers allow for crisp lines, outlining, or personalized text.
Taking your time with details can elevate a simple ornament into a truly special piece with character and depth.
6. Allowing the Paint to Dry Completely
Drying time is crucial for achieving a smooth and professional-looking finish. Even if the surface feels dry to the touch, deeper layers might still be setting.
Acrylic paint typically dries within minutes to hours, depending on thickness, but allowing at least 24 hours before sealing ensures that everything is fully cured. If using enamel or ceramic-specific paints, follow the manufacturer’s drying instructions, as some require longer setting times.
7. Curing the Paint for Longevity
If durability is a priority, curing the ornament can help set the paint for a stronger finish. Some ceramic paints require heat curing, which involves placing the ornament in a cool oven, gradually heating it to around 300°F (150°C), and baking for 30−60 minutes. Allow it to cool inside the oven before removing it to prevent cracking.
Air-drying is sufficient for acrylic-based designs, but heat curing enhances longevity and water resistance.
8. Applying a Protective Sealant
To protect the painted ornament from scratches, moisture, and fading, apply a clear sealant. Choose between matte, satin, or glossy finishes depending on the desired look.
A spray sealant offers even coverage without disturbing the design, while a brush-on sealant provides extra control. Apply thin, even coats and let each layer dry thoroughly before handling. This final step ensures that the ornament remains vibrant and durable for years to come.
A high-quality sealant not only preserves your artwork but also gives the ornament a polished, professional appearance.
9. Adding Finishing Touches
Once sealed and completely dry, the ornament is ready for display. If it requires hanging, attach a ribbon, string, or wire loop. Adding extra embellishments like beads, glitter accents, or a metallic edge can give the piece a refined touch.
For ornaments that will be handled frequently or gifted, consider wrapping them in soft cloth or placing them in a decorative box to keep them safe.
10. Displaying and Storing Painted Ornaments
A well-crafted ceramic ornament deserves proper care to maintain its beauty over time. When displaying, avoid placing it in direct sunlight for prolonged periods, as UV exposure may cause colors to fade. If using the ornament seasonally, wrap it in tissue paper or a soft cloth when storing to prevent scratches or damage.
Hand-painted ornaments carry personal significance, making them cherished keepsakes. Proper care ensures they remain as vibrant and meaningful as the day they were created.
Painting a ceramic ornament is more than just a craft—it's an opportunity for artistic expression and personalization. With careful preparation, thoughtful design, and proper finishing techniques, you can create a one-of-a-kind piece that holds sentimental value for years to come. Whether for holiday decorations, gifts, or personal keepsakes, each hand-painted ornament tells a story and adds a unique touch to any space.