Enameling with a Kiln: A Complete Beginner’s Guide
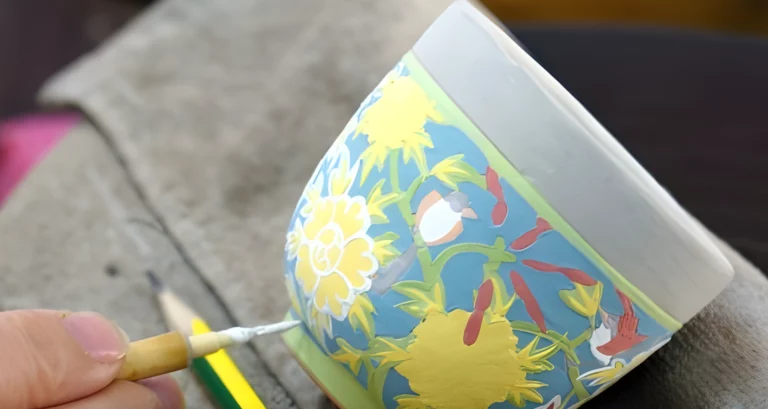
Enameling is a mesmerizing process where powdered glass fuses onto metal, creating vibrant, durable surfaces. Artists and jewelers have been using this technique for centuries to craft unique pieces, from intricate jewelry to decorative objects.
A kiln is a crucial tool for successful enameling. If you’re new to working with a kiln, the idea of high temperatures and delicate glass might feel intimidating. But with the right approach, your kiln can become an indispensable part of your creative process.
What Is Enameling?
Enameling is the process of fusing powdered glass onto a metal surface using high heat, typically in a kiln. This technique creates a smooth, durable, and often colorful coating that enhances the visual appeal and longevity of the metal object.
The process involves applying enamel in the form of powder, liquid, or pre-made decals onto metal, such as copper, silver, or gold. The piece is then fired in a kiln at temperatures ranging from 1300°F to 1600°F (700°C to 870°C). During firing, the glass enamel melts, flows, and bonds to the metal, resulting in a glossy, hardened surface.
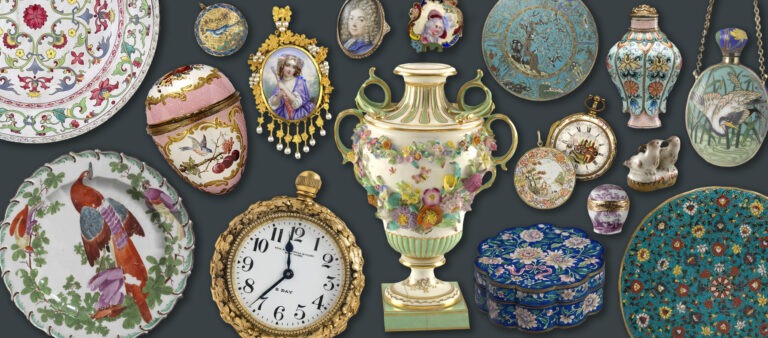
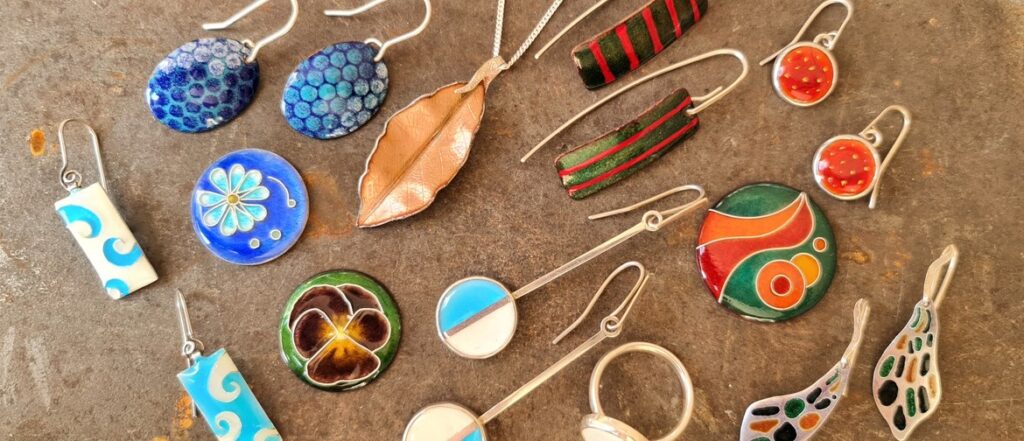
Enameling is widely used in jewelry making, decorative arts, and even industrial applications. Artists and craftsmen use various techniques, such as cloisonné, champlevé, and plique-à-jour, to achieve different effects and textures in their work.
While enameling is a centuries-old technique, modern kilns and advanced enamel formulations allow artists to experiment with new textures, colors, and finishes, expanding the creative possibilities of this ancient art form.
Setting Up Your Kiln for Enameling
Before you begin enameling, properly setting up your kiln is essential for achieving consistent, high-quality results. A well-prepared workspace, the right kiln, and proper safety measures all contribute to a smooth and successful enameling process.
Choosing the Right Kiln
Not all kilns are suited for enameling. You need a kiln capable of reaching and maintaining temperatures between 1300°F and 1600°F (700°C-870°C). Small tabletop kilns, such as the Paragon SC2 or Paragon SC3, are popular choices due to their precise digital temperature control and compact size. If you’re working on larger pieces, a front-loading kiln with a programmable controller can offer more flexibility. <blockquote>Choosing a kiln with a digital controller allows you to set precise firing temperatures and schedules, reducing the risk of over- or under-firing your enamel.</blockquote>
Preparing Your Work Area
Setting up a designated enameling station will help you work safely and efficiently. Your kiln should be placed on a heat-resistant surface, such as a metal table or a firebrick platform, away from flammable materials. Adequate ventilation is also crucial, as some enamels can release fumes during firing. If possible, set up your kiln near a window or use an exhaust fan to improve airflow.
Keep essential tools within reach, including:
- Heat-resistant gloves to protect your hands when handling fired pieces.
- Safety glasses to shield your eyes from any unexpected debris.
- A firing rack or trivets to elevate enameled pieces inside the kiln.
- A kiln shelf and stilts to support multiple pieces and prevent sticking.
Calibrating and Testing Your Kiln
Before firing your first enameled piece, run a test firing to ensure your kiln heats evenly. Place a ceramic tile or a test strip of enameled copper inside and fire it at your desired temperature. Observe whether the enamel melts uniformly—uneven melting could indicate hot or cool spots inside the kiln, which may require adjusting the placement of your pieces.
Example: Setting Up for a Cloisonné Enameling Project
Let’s say you’re creating a cloisonné enamel pendant. Before firing, you’ll need to:
- Preheat the kiln to around 1450°F (787°C).
- Prepare a firing rack by placing a trivet on a kiln shelf. This prevents the piece from sticking.
- Use a fine sifter to apply an even layer of enamel onto the pendant, ensuring no excess enamel drips off the metal surface.
- Wear safety gear before carefully placing the pendant inside the kiln.
- Monitor the process—in about 1 to 2 minutes, the enamel should become glossy and smooth, signaling it’s fully fused.
By following these setup steps, you ensure your kiln operates efficiently, resulting in vibrant and well-fired enameled pieces.
Step-by-Step Guide to Using a Kiln for Enameling
Once your kiln is properly set up, you’re ready to start the enameling process. Enameling requires precision, patience, and attention to detail to achieve smooth, vibrant, and durable results. Below is a step-by-step guide to help you successfully fire your enamel pieces.
1. Preparing Your Metal Surface
Before applying enamel, your metal surface must be clean and free from oils, dirt, or oxidation. Any contamination can cause poor adhesion or defects in the final piece.
- Cleaning: Wash the metal with warm water and a mild detergent or scrub it with a fine abrasive pad.
- Degreasing: Wipe the surface with rubbing alcohol or acetone to remove any lingering oils.
- Removing Oxidation: If needed, pickle the metal in a warm acid bath (such as a citric acid solution) and rinse thoroughly.
Skipping this step can lead to weak enamel adhesion, uneven coverage, or unwanted discoloration.
2. Applying the Enamel
There are multiple ways to apply enamel, depending on the desired effect and technique used. The most common methods include:
- Dry Sifting: Using a fine mesh sifter, evenly distribute a layer of powdered enamel over the metal surface.
- Wet Packing: Mix powdered enamel with water to create a paste and carefully apply it with a brush or spatula.
- Stencil or Sgraffito Techniques: Layer the enamel and then remove parts of it to create patterns and designs.
Apply thin, even layers to avoid cracking or bubbling during firing.
3. Loading the Kiln
Proper placement of your piece inside the kiln ensures even heating and prevents unwanted marks.
- Use a firing rack or trivet to elevate the piece, preventing it from sticking to the kiln floor.
- If firing multiple pieces, leave enough space between them for proper heat circulation.
- For domed or curved pieces, use kiln stilts to keep them stable during firing.
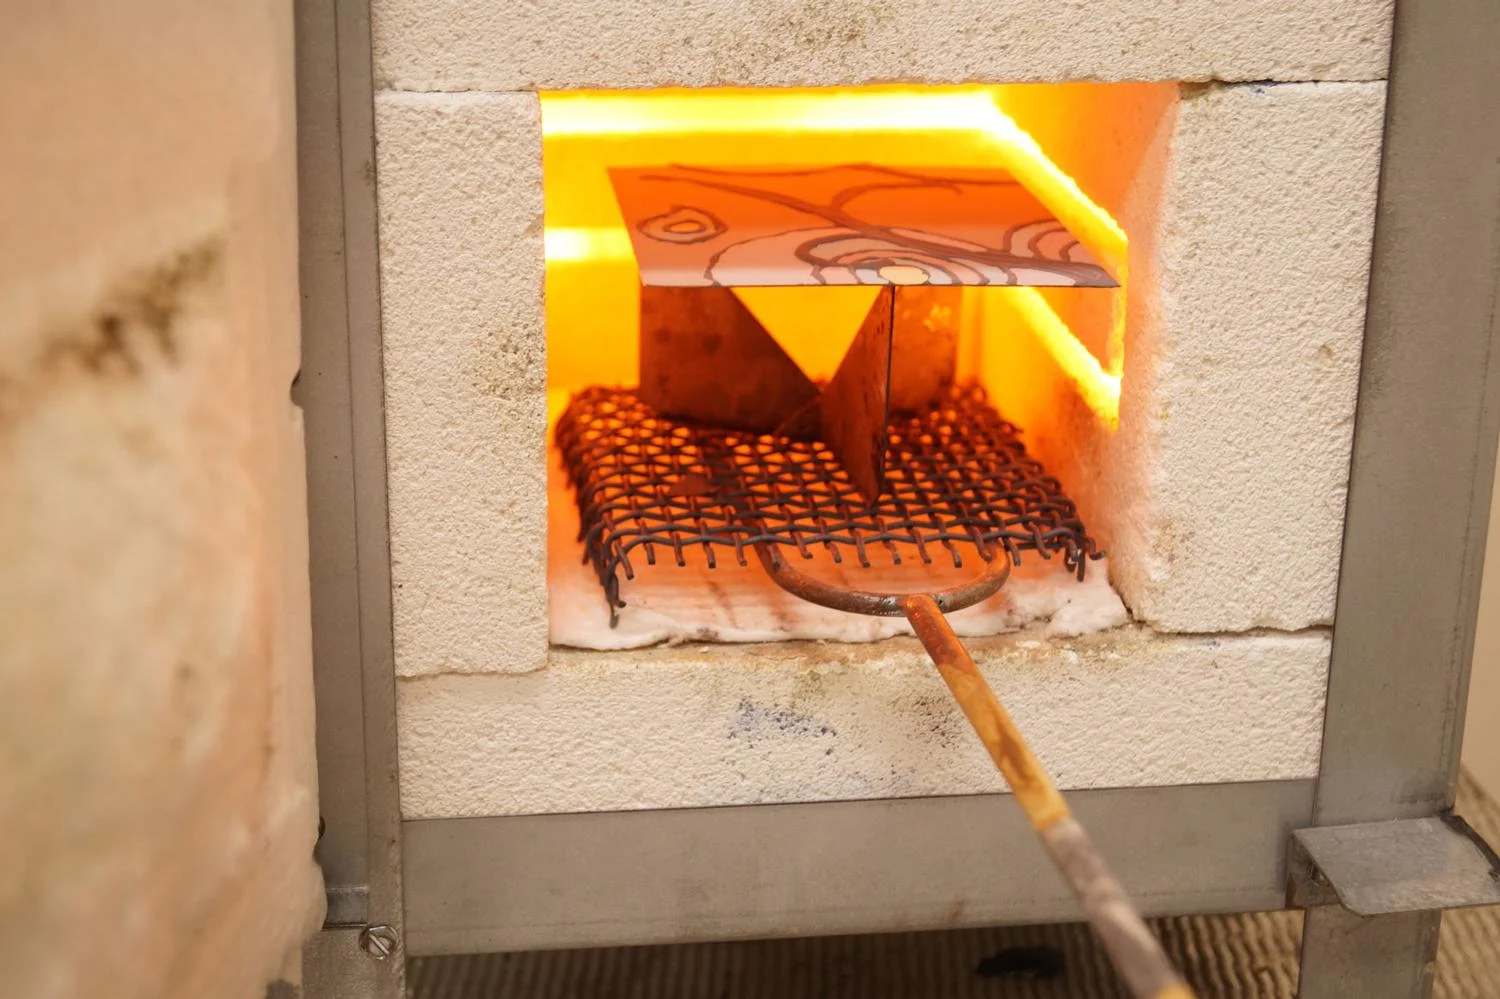
4. Firing the Enamel
Each type of enamel has a recommended firing temperature and time. Most enamel kilns are set between 1300°F and 1600°F (700°C-870°C), with firing times lasting 1 to 3 minutes depending on the enamel and metal thickness.
- Preheat the kiln to the recommended temperature before placing your piece inside.
- Watch the firing process carefully through the kiln’s viewing window. The enamel should gradually melt and take on a smooth, glossy surface.
- Avoid overfiring, which can cause discoloration, bubbles, or burning.
Enamel is ready when it appears fully fused and glassy. If it still looks grainy, it may need a few more seconds in the kiln.
5. Cooling and Handling the Finished Piece
Once the enamel is fully fused, carefully remove the piece using heat-resistant gloves and tongs.
- Place the piece on a heatproof surface or firebrick to cool naturally.
- Avoid rapid cooling (such as quenching in water), as this can cause thermal shock and cracks.
- Once cool, check for defects or uneven areas. If needed, apply another layer of enamel and repeat the firing process.
6. Finishing Touches
After cooling, the enameled piece may need some final polishing:
- Sanding rough edges with a fine abrasive pad or diamond file.
- Buffing the surface with a soft cloth for extra shine.
- Adding additional techniques such as etching, layering, or incorporating decals for further customization.
By following these steps, you’ll create beautifully enameled pieces with a professional, long-lasting finish.
Common Mistakes to Avoid in Kiln Enameling
Enameling with a kiln is a rewarding process, but even experienced artists can run into issues if they’re not careful. Below are some of the most common mistakes and how to avoid them to ensure your enamel pieces turn out smooth, vibrant, and durable.

1. Skipping Proper Surface Preparation
A dirty or greasy metal surface prevents enamel from adhering correctly, leading to peeling, chipping, or uneven coverage.
✅ Solution:
- Thoroughly clean the metal with detergent and warm water.
- Use rubbing alcohol or acetone to remove oils.
- If oxidation is present, pickle the metal in a citric acid solution and rinse well.
Even a small amount of oil from your fingers can affect the final result. Always handle metal with clean, dry hands or wear gloves.
2. Applying Enamel Too Thickly
A thick layer of enamel might seem like a good idea for richer color, but it can lead to cracking, bubbling, or incomplete fusing.
✅ Solution:
- Apply thin, even layers, allowing each layer to fully fuse before adding more.
- If using wet enamel, avoid excessive moisture, as it can create air pockets.
3. Overfiring or Underfiring
Firing temperature and duration are crucial for a successful result. Overfiring can burn or discolor the enamel, while underfiring leads to a rough, grainy surface.
✅ Solution:
- Follow the enamel manufacturer’s recommended temperature and firing time (typically 1300−1600°F / 700−870°C).
- Watch the enamel closely—it should appear glossy and fully fused but not scorched.
- Test different firing times with small samples before working on larger pieces.
Overfired enamel may turn dull or develop a burnt-looking edge, while underfired enamel will feel rough or sandy to the touch.
4. Overcrowding the Kiln
Placing too many pieces inside the kiln at once can lead to uneven heating and poor results. Pieces might stick together or block airflow, preventing even fusion.
✅ Solution:
- Leave enough space between pieces for proper heat circulation.
- Fire in smaller batches rather than overloading the kiln.
- Use kiln stilts or firing racks to prevent contact with the kiln floor.
5. Rapid Cooling (Thermal Shock)
Sudden temperature changes can cause enamel to crack, especially on larger or domed pieces.
✅ Solution:
- Let the piece cool gradually on a heat-resistant surface or firebrick.
- Avoid placing hot enamel in cold areas or exposing it to drafts.
- Never quench enameled metal in water immediately after firing.
6. Neglecting Ventilation
Enameling releases fumes, especially when working with certain metals, adhesives, or mixed materials. Poor ventilation can lead to health risks and affect the quality of the firing process.
✅ Solution:
- Work in a well-ventilated area.
- Use an exhaust fan or open a window when firing.
- Avoid using adhesives, paints, or coatings that are not meant for high-temperature applications.
<blockquote>Proper ventilation is essential—not just for safety, but also to prevent discoloration and contamination of your enamel.</blockquote>
7. Not Testing Enamel on Scrap Metal First
Different enamels react differently depending on the metal base, firing temperature, and application method.
✅ Solution:
- Always test new enamel colors or brands on a small scrap piece first.
- Observe how the enamel behaves in your specific kiln before working on a final project.
By avoiding these common mistakes, you’ll improve your enameling results, achieve more consistent finishes, and prevent unnecessary frustration in the process.
Mastering kiln enameling takes patience, practice, and attention to detail. From setting up your kiln and preparing your materials to perfecting your firing techniques, each step plays a crucial role in achieving high-quality results.
Enameling is as much an art as it is a science—small adjustments in temperature, application, and layering can lead to breathtaking results.
By understanding the fundamentals, avoiding common mistakes, and experimenting with advanced techniques, you can create stunning enameled jewelry, decorative objects, and even functional pieces. The key is to maintain a clean workspace, follow proper firing guidelines, and embrace the learning process.
With the right approach and a bit of creativity, your kiln can become an essential tool for bringing your enamel designs to life. Keep refining your skills, explore new methods, and most importantly—enjoy the process!