Home Glass Fusing: Everything You Need to Know
The Beauty of Glass Fusing at Home
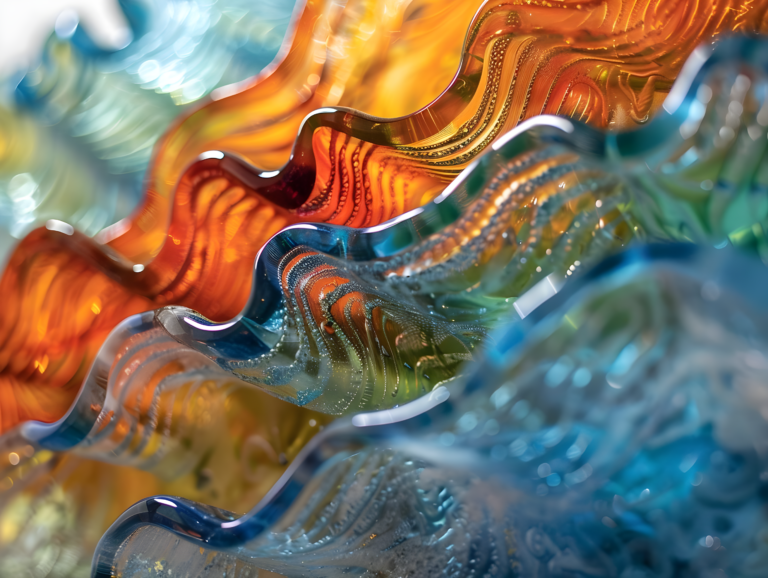
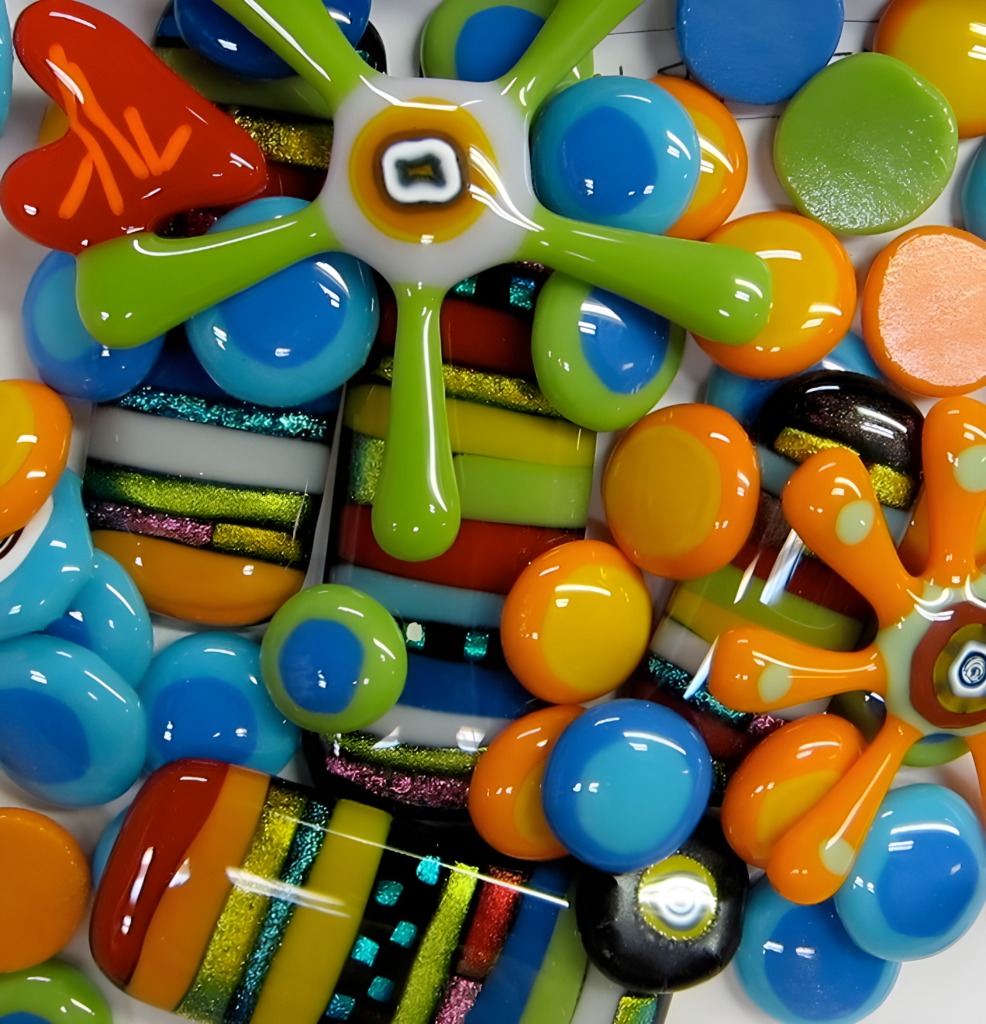
There is something truly magical about glass fusing. It’s a process that transforms simple sheets of glass into stunning, one-of-a-kind pieces through the power of heat and creativity. Unlike other forms of glasswork, fusing allows for endless experimentation—layering colors, adding texture, embedding materials, and shaping the glass into unique forms. Whether you’re making jewelry, decorative panels, or functional items like coasters and bowls, each fused piece tells its own story, shaped by both science and artistry.
One of the most captivating aspects of glass fusing is its unpredictability. Even with careful planning, the kiln works its own magic, softening and blending the glass in ways that sometimes surprise even experienced artists. This blend of control and spontaneity is what makes the process so rewarding. Each firing cycle is a lesson, teaching you how different glass reacts to heat, how colors merge, and how tiny adjustments in temperature or layering can create entirely new effects.
A great example of this is the «tack fuse» technique, where glass pieces are heated just enough to bond but retain their original shape and texture. This method can be used to create stunning, raised designs on plates or wall art. A well-known example of tack fusing can be seen in contemporary fused glass jewelry, where delicate glass shards or stringers remain slightly elevated, giving the piece a tactile, three-dimensional quality.
Glass fusing is not just about the final piece—it's about the process itself. The anticipation as the kiln slowly cools, the thrill of seeing how the glass has transformed, and the joy of holding something you’ve created with your own hands all add to the beauty of this craft.
For those just beginning their journey, small-scale projects like coasters or pendants offer an excellent introduction to the art. These simple pieces allow you to experiment with color combinations and basic layering techniques without requiring large amounts of material or complex firing schedules. Over time, as confidence grows, more intricate designs and techniques—such as full fusing, slumping, and kiln carving—can be explored, opening up even more possibilities.
Glass fusing at home is not just a hobby; it’s an invitation to explore creativity in a medium that is both delicate and resilient. With each project, you gain a deeper understanding of how light interacts with glass, how heat shapes it, and how your own artistic vision can bring it to life.
What Is Glass Fusing?
Glass fusing is an ancient yet ever-evolving technique that involves heating multiple pieces of glass in a kiln until they soften and bond together. Unlike stained glass, which relies on soldering separate pieces with lead, or glassblowing, which shapes molten glass through air and movement, fusing allows artists to create seamless designs with layers, textures, and embedded elements. The key to successful fusing lies in precise temperature control, as different heating levels produce different effects—from full fusion, where glass melts completely into a single smooth sheet, to tack fusing, where pieces retain their distinct edges while bonding.
The process relies on compatibility between glass pieces. All glass expands and contracts when heated and cooled, and to prevent cracking, fused pieces must have the same coefficient of expansion (COE). This is why artists use specifically manufactured «fusible glass,» such as Bullseye or Spectrum, which are designed to fuse predictably without internal stress.
The magic of glass fusing lies in its versatility. By adjusting kiln temperatures and layering techniques, you can achieve a range of finishes, from glossy, fluid-like surfaces to crisp, structured patterns with distinct color separations.
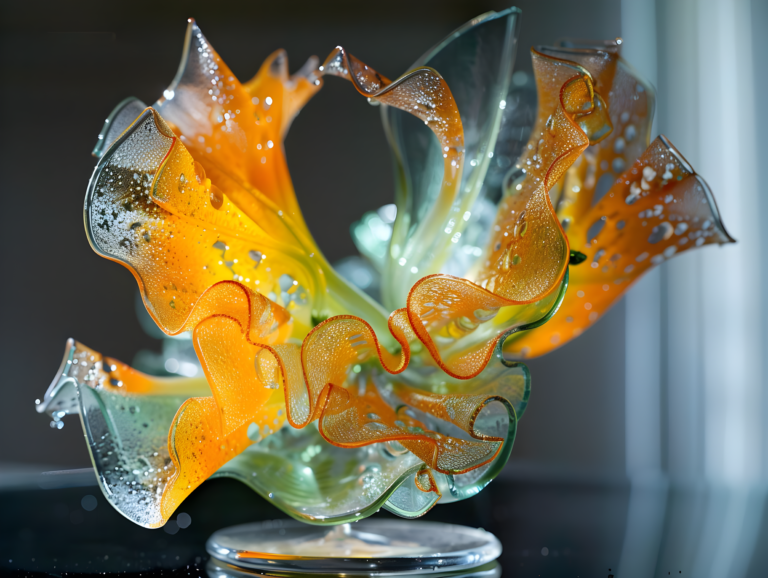
A great example of controlled fusing is seen in fused glass bowls, where artists first create a flat design by layering cut glass pieces before firing them at full fuse temperature. Once cooled, the fused sheet is placed over a ceramic mold and heated again in a process called slumping, allowing gravity to gently shape it into a curved form. This technique showcases the dual nature of fusing—not only bonding materials but also transforming them into functional, sculptural pieces.
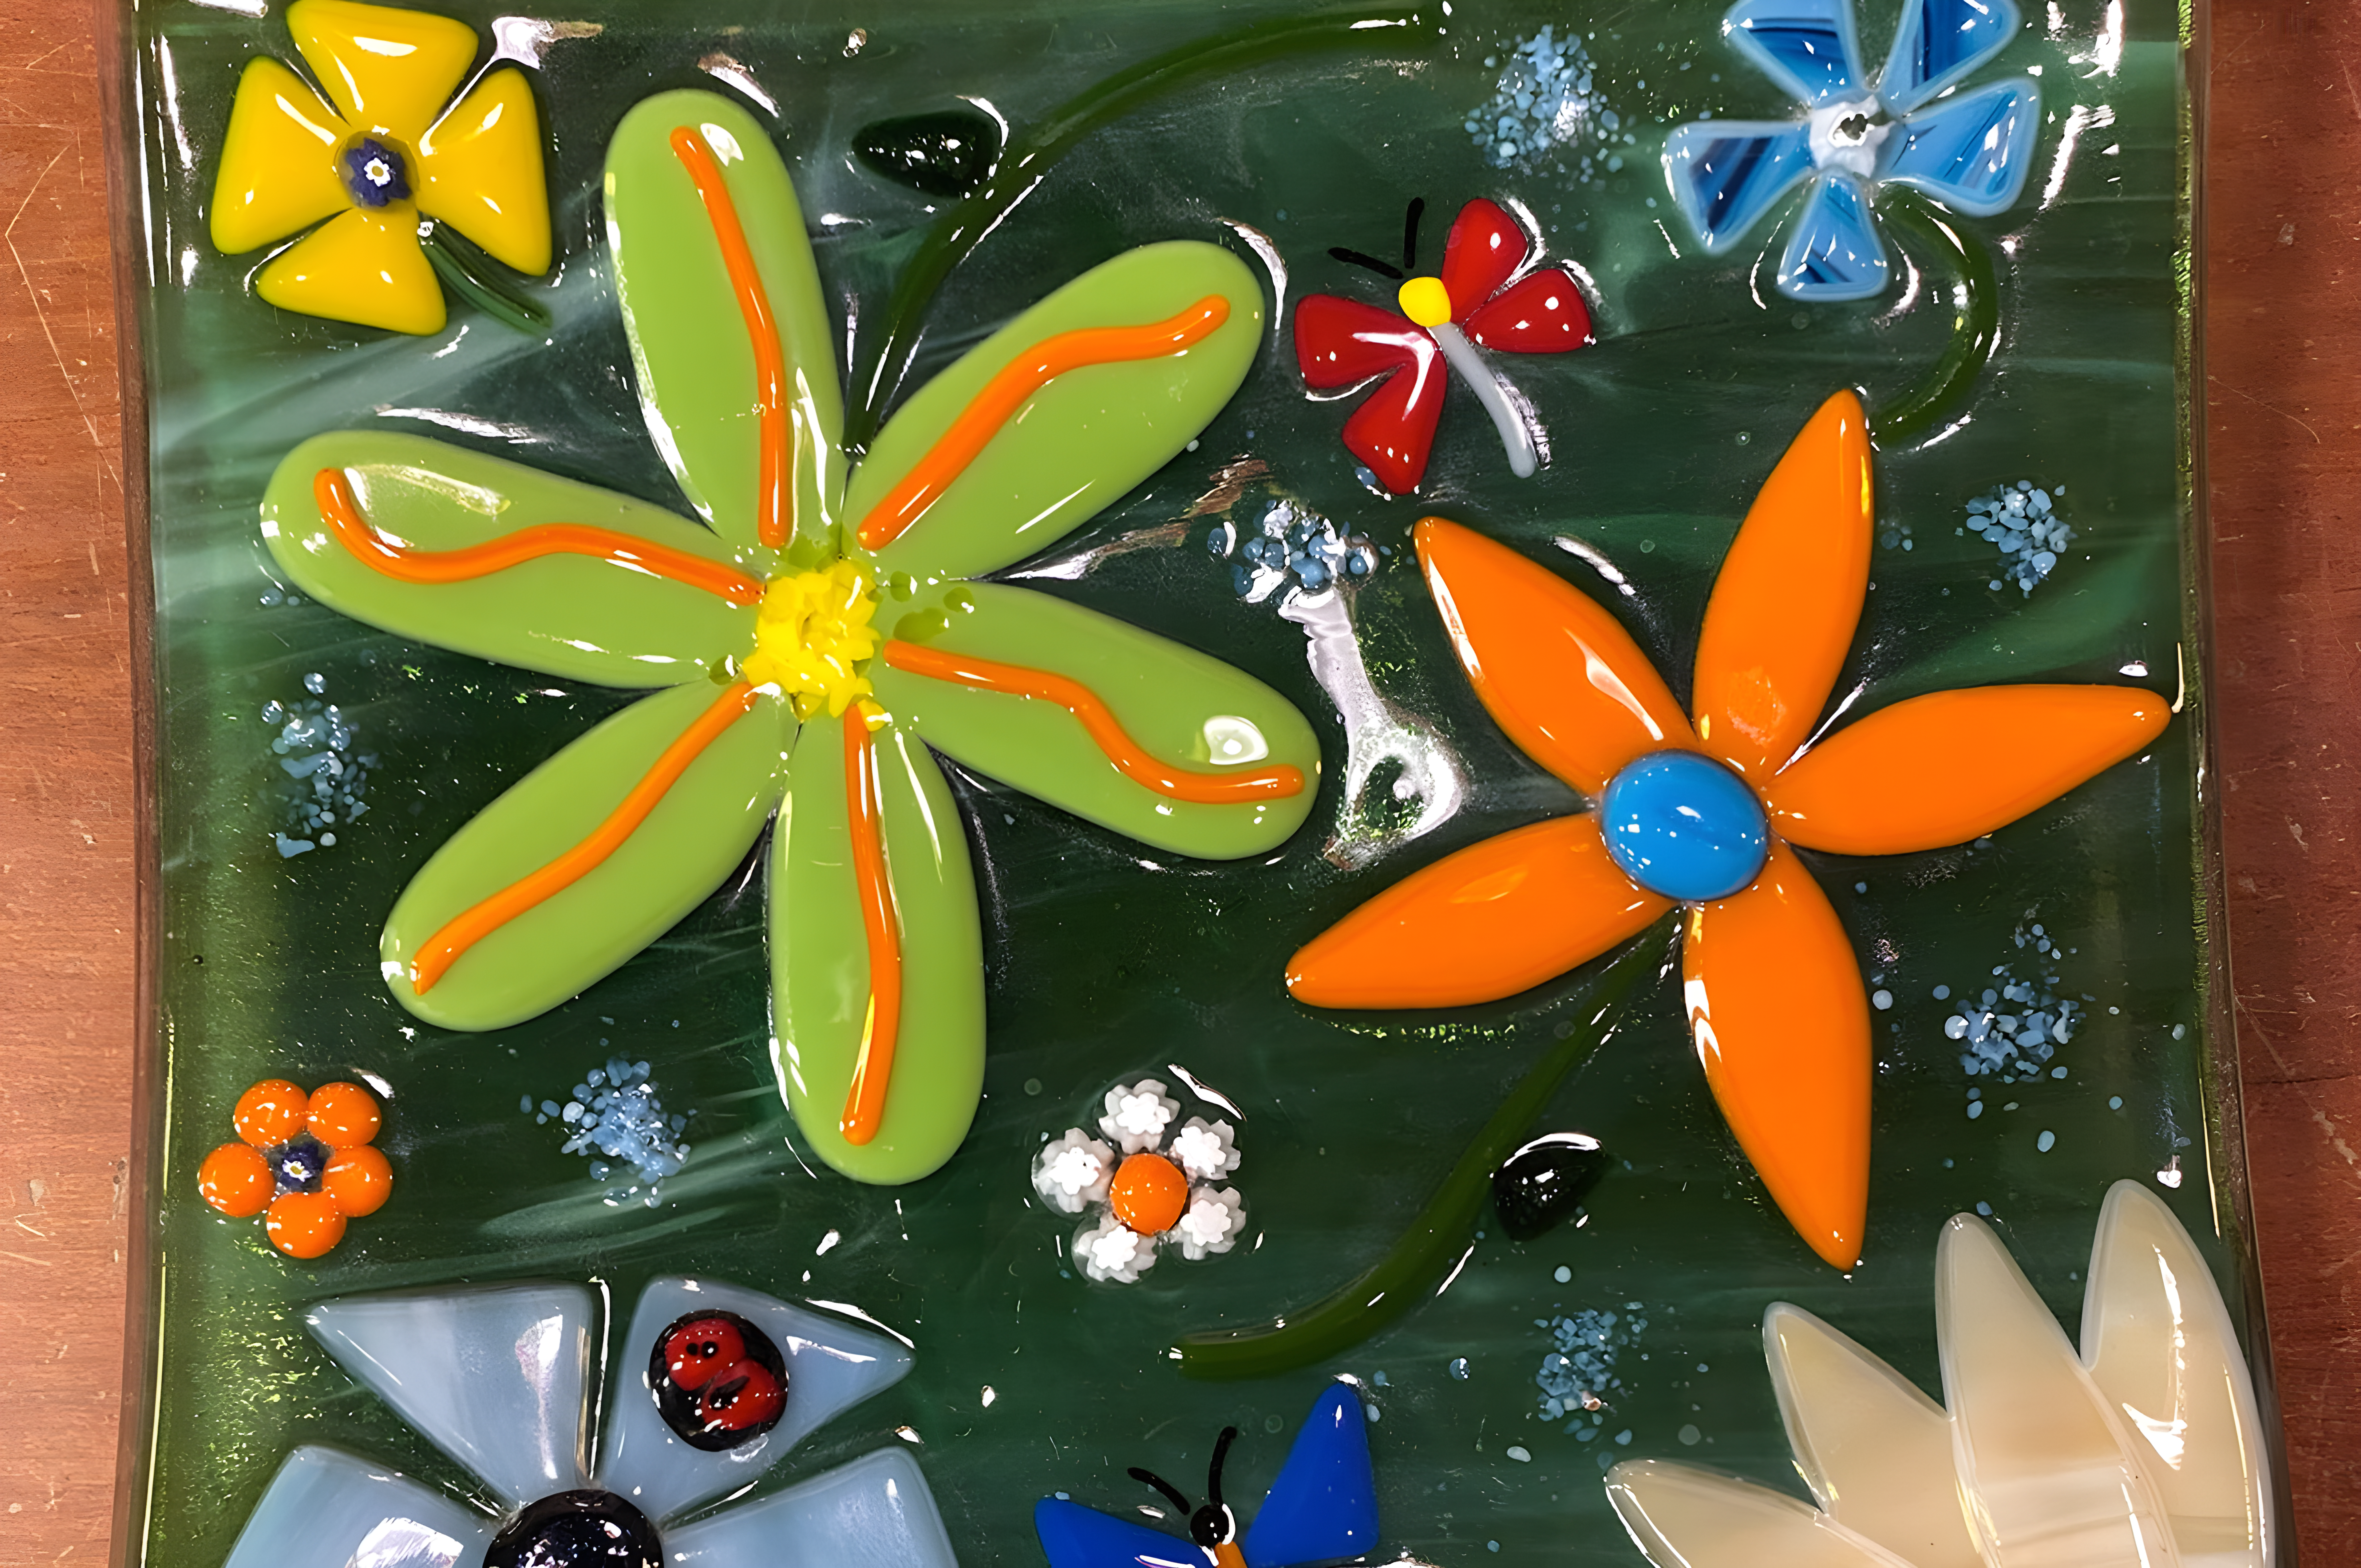
Because of its accessibility, glass fusing has become a popular method for home studios, allowing artists to experiment with an array of materials, including powdered glass (frit), metal inclusions, and even organic elements like leaves (which burn away, leaving delicate imprints). Whether creating jewelry, abstract art, or home décor, the beauty of fusing is that no two pieces are ever exactly alike—each one is shaped by the unique combination of glass, heat, and time.
Choosing the Right Glass for Fusing
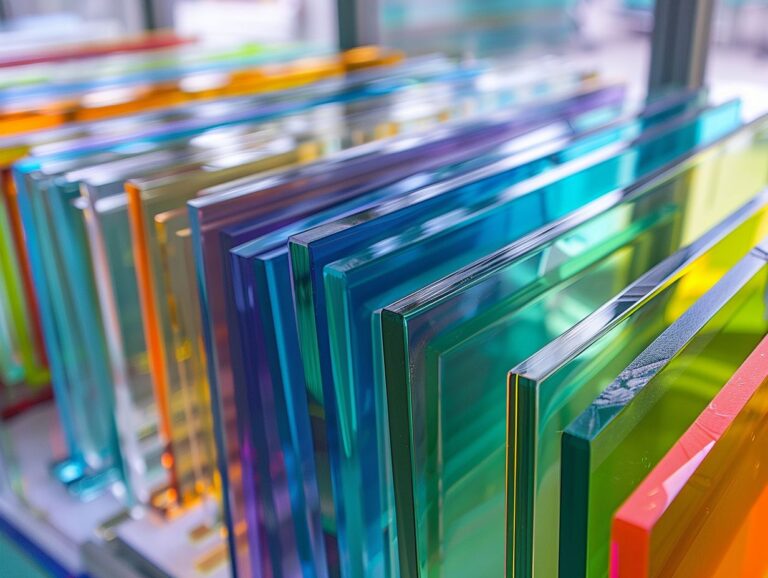
Selecting the appropriate glass is one of the most critical aspects of successful glass fusing. Unlike regular window glass or repurposed scraps from other projects, fusible glass must meet specific criteria to withstand the heating and cooling process without cracking or warping. The most important factor in this selection is compatibility, which ensures that all pieces in a fused design expand and contract at the same rate when exposed to heat.
Understanding COE (Coefficient of Expansion)
The coefficient of expansion (COE) measures how much a type of glass expands when heated. If two pieces with different COEs are fused together, they will cool at different rates, creating stress that can cause breakage. For this reason, only glass with the same COE should be used in a single fused piece. The most commonly used fusible glass types have COEs of 90 (such as Bullseye glass) or 96 (such as Spectrum and Oceanside glass). These brands provide high-quality glass specifically tested for fusing, ensuring reliable results.
Mixing incompatible glass, even if it looks similar, is one of the biggest mistakes beginners make. Even if the pieces appear to fuse together initially, hidden stress within the glass can lead to fractures days or weeks later.
Glass Thickness and Its Role in Fusing
The thickness of the glass also plays a crucial role in fusing outcomes. A standard fused piece is typically built with two layers, equating to around 6 mm (¼ inch) in total thickness. If a fused project is too thin, around 3 mm (1/8 inch), the edges may shrink inward as the glass tries to pull itself into a more stable form. On the other hand, if a piece is too thick (over 9 mm or 3/8 inch), it may spread outward as gravity affects the molten glass.
For example, in fused glass coaster projects, artists often start with two layers of compatible sheet glass to maintain a stable thickness, preventing distortion during the full fuse process. Additional elements such as frit (crushed glass) or thin stringers (glass rods) can be added without significantly affecting the overall structure.
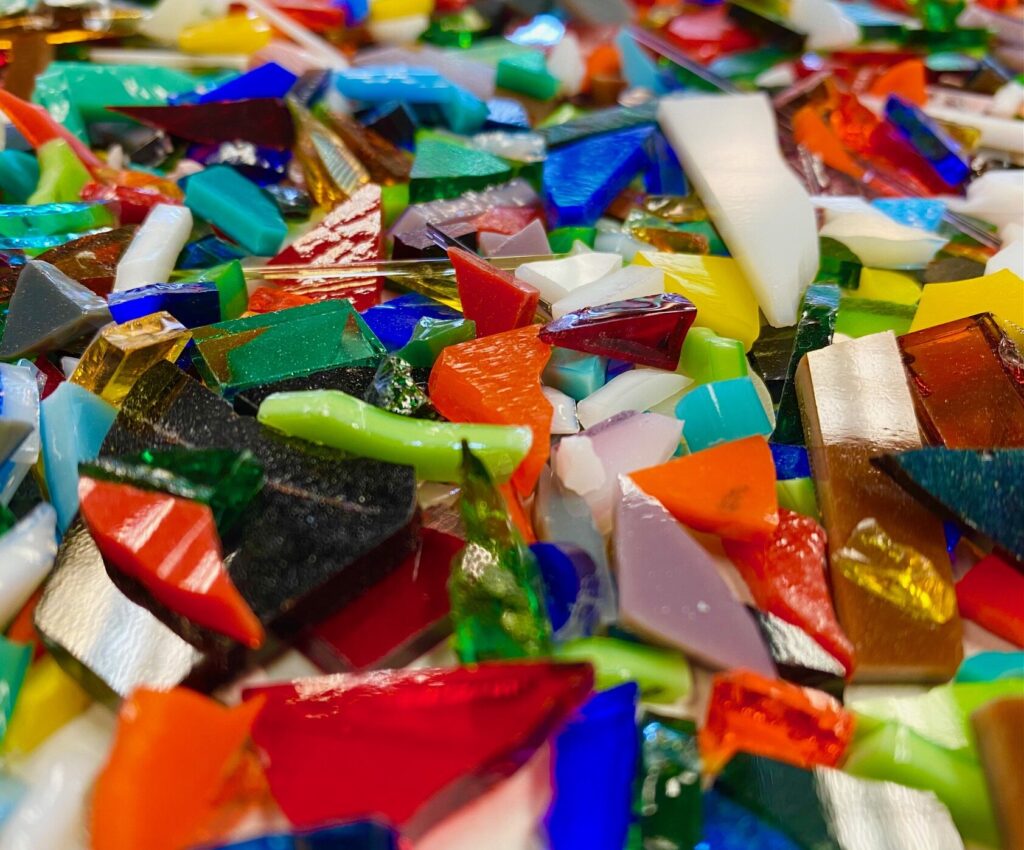
Types of Fusible Glass
Fusible glass is available in various forms, each offering unique design possibilities:
- Transparent and Opalescent Sheets — Used as base layers or decorative elements
- Frit (Powdered or Crushed Glass) — Ideal for shading and textural effects
- Stringers and Noodles — Thin rods that add delicate lines and accents
- Dichroic Glass — A specialty glass with a metallic shimmer, perfect for jewelry and statement pieces
A great example of thoughtful glass selection can be seen in layered glass pendants, where a clear base is topped with colored transparent glass, a layer of dichroic accents, and a final clear capping piece. This arrangement not only enhances depth and brilliance but also ensures smooth edges and a comfortable wearability after fusing.
By carefully choosing the right glass for each project, artists can create pieces that are not only visually stunning but also structurally sound, reducing the risk of post-firing stress fractures and ensuring lasting beauty in their fused glass creations.
Essential Tools for Glass Fusing
Working with fused glass requires a set of specialized tools to ensure precision, safety, and the best possible results. While some tools are optional and depend on the complexity of the project, others are absolute necessities for cutting, assembling, and firing glass properly. Whether you’re just starting or looking to refine your technique, having the right tools on hand will make the process more enjoyable and efficient.
Glass Cutting Tools: Precision at the Start
Cutting glass accurately is one of the most fundamental skills in fusing. To achieve clean, precise shapes, you need a reliable glass cutter. Unlike a knife, this tool doesn’t actually cut but scores the glass, creating a weak line that allows controlled breaking. Oil-filled cutters are especially useful as they provide a smoother glide and cleaner score lines.
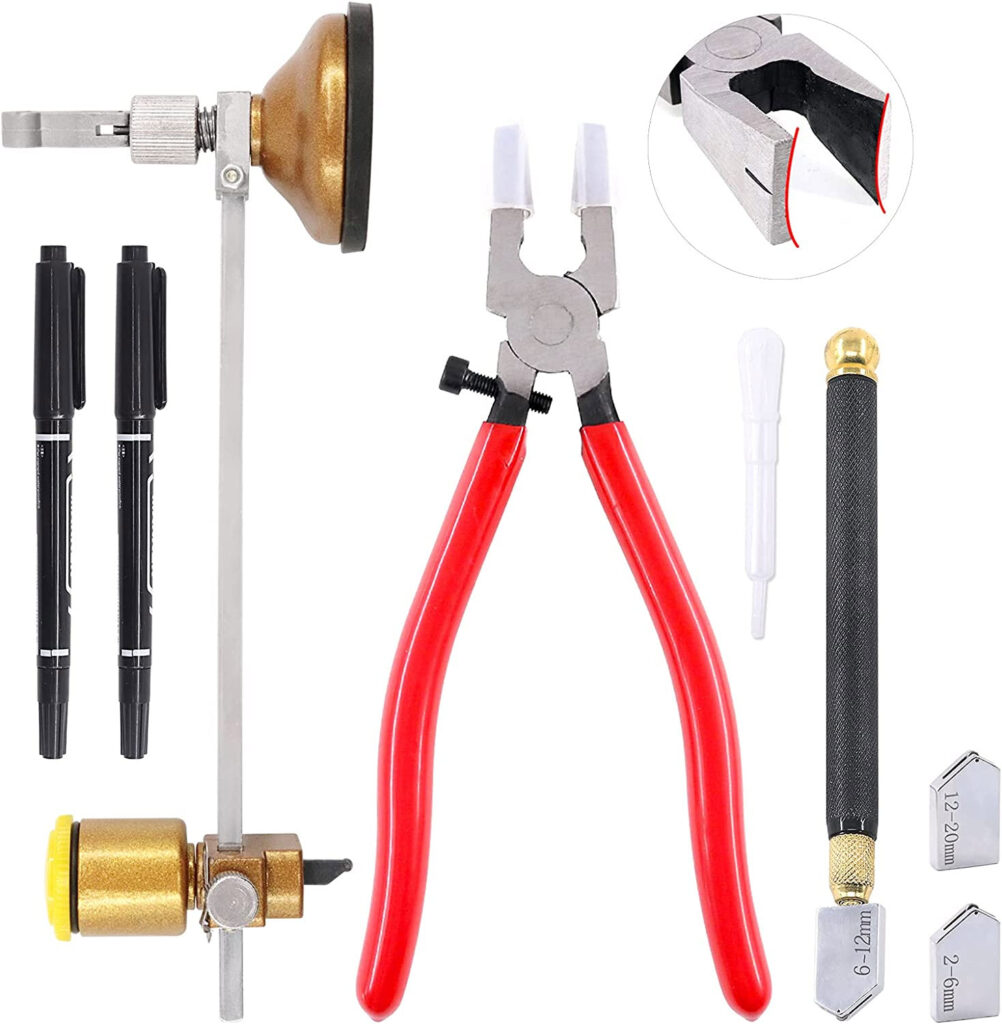
Once scored, the glass needs to be separated along the line. Running pliers help apply even pressure to snap the glass apart cleanly, while grozing pliers refine the edges by gently chipping away small unwanted pieces. These tools are particularly useful when working with intricate designs, such as layered floral patterns or mosaic-style fused pieces.
Example: In a fused glass jewelry project, precise cutting is essential when layering different colors for a pendant. An imprecise cut could result in uneven edges or improper alignment after firing.
Glass Cleaning and Preparation: A Crucial Step
Before assembling your design, cleaning each glass piece thoroughly is essential. Any dust, oil, or fingerprints left on the surface can become permanently embedded in the glass during firing, resulting in unwanted marks. A simple detergent cleaner and lint-free cloth will remove most residues, but for deeper cleaning, many artists use isopropyl alcohol to ensure a completely grease-free surface.
In addition to cleaning, kiln wash or fiber paper is necessary to prevent glass from sticking to the kiln shelf. Kiln wash is a liquid coating that creates a protective barrier on the shelf, while fiber paper is a thin, disposable material that serves the same function. For pieces requiring a smooth underside, such as coasters or display plates, fiber paper is often preferred.
Assembly and Design Tools: Bringing Your Vision to Life
Once the glass is cut and cleaned, you need tools to arrange and secure your design before firing. Tweezers and glass positioning sticks help place small decorative elements, such as frit or stringers, with precision. If working with powdered glass or fine frit, a fine-tipped sifter allows for even distribution, perfect for shading effects or gradient transitions in artistic pieces.
For artists experimenting with more complex compositions, glue specifically designed for glass fusing can temporarily hold pieces in place before firing. While the glue burns away in the kiln, it prevents small elements from shifting when moving the project into the firing chamber.
Example: When creating a glass landscape piece with multiple layers, using glue ensures tiny glass trees and mountain silhouettes stay in place, preventing misalignment when the glass softens in the kiln.
Kiln and Safety Gear: The Core of Glass Fusing
The kiln is, without a doubt, the most important piece of equipment in glass fusing. It provides the controlled heating and cooling necessary to bond glass pieces together while avoiding stress fractures. There are many types of kilns, from small tabletop models suitable for jewelry projects to larger kilns capable of firing plates, bowls, and large decorative panels.
Since working with a kiln involves high temperatures, proper safety gear is essential. Heat-resistant gloves protect your hands when handling the kiln, while safety glasses shield your eyes from potential glass splinters during cutting and grinding. A ventilated workspace is also important, especially when working with certain types of glass coatings that may release fumes.
By equipping yourself with the right tools and understanding their role in the fusing process, you’ll be able to create glass art with greater confidence and precision. Whether crafting a simple pendant or an intricate multi-layered panel, each tool contributes to a seamless and enjoyable glass fusing experience.
Preparing Your Glass for Firing
Once you have cut and arranged your glass pieces, the next crucial step is preparing them for the kiln. Proper preparation ensures a clean, even fuse and prevents unwanted imperfections like air bubbles, devitrification, or glass sticking to the kiln shelf. From cleaning to positioning, each stage plays a vital role in achieving a polished final result.
Cleaning the Glass: Removing Contaminants
Before firing, every piece of glass must be meticulously cleaned to remove dust, oil, and residues. Even tiny contaminants can leave marks or cause surface imperfections during firing. The best approach is to wash the glass with warm water and a mild dish detergent, followed by thorough drying with a lint-free cloth. For a more thorough cleaning, isopropyl alcohol or a vinegar-water solution can be used to remove grease or stubborn residues.
Example: A common issue in fusing is devitrification—a cloudy, rough surface that can occur if oils or dust are present. Proper cleaning minimizes this risk and helps maintain a glossy finish.
Arranging and Securing Your Design
Once the glass is clean, it’s time to assemble your design. Whether you’re working with layers, patterns, or intricate decorative elements, careful positioning is essential. Tweezers or glass-handling sticks can help with precise placement, especially for small details like frit, stringers, or thin decorative strips.
If you need to secure pieces before moving them into the kiln, use a small amount of fusing glue or hairspray. These adhesives burn away completely during firing, preventing pieces from shifting while handling the kiln shelf. However, avoid excessive glue, as it can leave residue on the glass.
Example: When layering multiple pieces for a fused glass pendant, using a dot of glue prevents tiny elements from sliding before the kiln reaches its melting temperature.
Preventing Sticking: Kiln Shelf Preparation
Glass fuses at high temperatures, which means direct contact with the kiln shelf can cause sticking. To prevent this, you must prepare your kiln shelf properly. There are two main methods:
- Kiln Wash: A liquid coating applied to the shelf that creates a protective barrier. It should be applied in multiple thin layers and allowed to dry completely before firing.
- Fiber Paper or Thinfire Paper: A disposable option that provides a smooth finish on the underside of the glass and eliminates the need for kiln wash. It’s especially useful for projects requiring clean, polished backs.
For shaped pieces like bowls or slumped glass, molds should also be coated with kiln wash or lined with fiber paper to prevent sticking.
Checking for Air Bubbles
Trapped air between glass layers can create unwanted bubbles, which may distort the final piece. While some designs embrace bubbles as part of the aesthetic, excessive bubbles can weaken the glass. To minimize this, ensure layers are properly aligned with no trapped pockets of air. A slight offset between stacked layers can help air escape during firing.
Another technique is to use a slow heating schedule in the kiln, allowing air to escape before the glass fully fuses. This is particularly important for thick or multi-layered pieces.
Example: In a glass plate project, small trapped air pockets can form domes on the surface. A controlled firing schedule prevents this by allowing air to escape gradually.
Final Inspection Before Firing
Before placing your piece in the kiln, take a final moment to inspect everything:
- Are all glass pieces clean and free of fingerprints?
- Is the kiln shelf properly prepared?
- Have you positioned the glass to allow for even heating and airflow?
- Is the firing schedule appropriate for the thickness of the glass?
A well-prepared piece leads to a successful firing, resulting in smooth, fused edges and a flawless finish. By taking the time to carefully clean, arrange, and position your glass, you ensure a beautiful final piece that reflects your craftsmanship and attention to detail.
Mastering the Kiln: Firing Schedule and Techniques
EvFiring glass in a kiln is both an art and a science. The right schedule ensures a successful fuse, avoids stress fractures, and brings out the desired texture and finish. Mastering kiln techniques means understanding heatwork, the different stages of firing, and how to adapt schedules for various projects.
Understanding Heatwork: More Than Just Temperature
In glass fusing, the total heat applied—often called «heatwork"—is more important than just reaching a specific temperature. This concept includes not only the peak temperature but also the time spent at each stage, the heating and cooling rates, and how evenly the heat is distributed throughout the kiln.
For instance, two pieces fired to the same top temperature can have completely different results if one is fired quickly and the other slowly. Glass needs time to respond to heat, and rushing the process can lead to unwanted warping, bubbles, or even breakage.
Example: A thick fused glass panel may require an extended soak at a lower temperature to allow air to escape, preventing trapped bubbles from distorting the final piece.
The Main Stages of a Firing Schedule
A well-structured firing schedule consists of multiple phases, each serving a specific purpose:
- Ramp-Up (Slow Heat Increase)
The kiln must be heated gradually to avoid thermal shock, which can cause the glass to crack. The thicker the glass, the slower the ramp-up should be. Sudden temperature jumps can lead to internal stress that weakens the final piece. - Bubble Squeeze (Optional but Recommended)
If you’re working with layered glass, a «bubble squeeze» is a slow pause at a mid-range temperature (usually around 1100°F/593°C) that allows trapped air to escape before the glass fully fuses. This step is crucial for preventing large air pockets. - Full Fuse, Tack Fuse, or Slumping Stage
The peak temperature depends on your desired effect:- Full fuse (1450−1500°F / 787−815°C) melts layers completely into a smooth, unified piece.
- Tack fuse (1350−1400°F / 732−760°C) allows pieces to retain some texture while bonding together.
- Slumping (1200−1300°F / 649−704°C) softens glass just enough to conform to a mold without changing its overall shape.
- Controlled Cooling (Annealing Phase)
This is one of the most critical steps in glass fusing. Glass must be cooled gradually through its stress point (typically around 950°F/510°C) to relieve internal tension. If cooled too quickly, the glass may develop invisible stress that makes it prone to cracking later. - Final Cool-Down
After annealing, the kiln must cool to room temperature at a controlled rate. Opening the kiln too soon can cause thermal shock, leading to cracks or breakage. Most artists wait until the kiln reaches at least 100°F (38°C) before opening it.
Example: A thick glass platter left in a hot kiln without controlled cooling may look fine initially but develop cracks days or weeks later due to trapped stress.
Adjusting Firing Schedules for Different Glass Types
Not all glass reacts the same way in the kiln. Transparent, opalescent, and iridescent glass each absorb heat differently. For example, darker colors tend to absorb heat more quickly than lighter ones, which can result in uneven fusing if not accounted for in the schedule.
Additionally, glass thickness plays a significant role in timing. A thin piece (3mm) can be fused relatively quickly, while a thicker slab (10mm or more) requires much slower heating and cooling to avoid stress fractures.
Common Kiln Techniques for Special Effects
Beyond standard fusing, advanced firing techniques allow for more creative effects:
- Fire Polishing: A short, lower-temperature firing (around 1350°F/732°C) to remove rough edges without fully fusing the piece.
- Drop-Ring Firing: Using a circular mold to let glass slowly «drip» into a shape as it softens in the kiln.
- Bubble Control Techniques: Using a combination of venting, soaking, and even layering patterns to control how air moves through the glass during firing.
Final Tips for Kiln Success
- Always test new schedules with small sample pieces before committing to a full project.
- Keep a firing log to track successful (and unsuccessful) schedules for future reference.
- Avoid opening the kiln too soon—patience is key to a stress-free, beautifully fused piece.
By understanding the nuances of kiln firing schedules and techniques, you can achieve consistently stunning results, whether you’re fusing, slumping, or experimenting with advanced effects.
After the Fire: Finishing Your Piece
Once your glass has completed its journey through the kiln, the creative process is far from over. The final touches—cleaning, refining edges, and adding details—can elevate your work from a simple fused piece to a polished, professional-looking creation. Proper finishing ensures durability, enhances the aesthetics, and allows for additional design elements such as engraving, coldworking, or assembly into functional art.
Assessing Your Fused Glass
Before handling your piece, ensure it has fully cooled to room temperature inside the kiln. Prematurely removing glass can lead to thermal shock, causing cracks or hidden stress fractures that weaken the structure.
Once out of the kiln, inspect the surface and edges:
- Are there sharp or uneven areas that need smoothing?
- Is the shape as intended, or does it need refinement?
- Are there any unexpected bubbles, marks, or texture changes that require adjustment?
Example: A glass coaster may appear smooth at first glance, but upon closer inspection, the edges might feel rough due to slight overfiring, requiring additional finishing.
Cleaning Your Fused Glass
Even when carefully placed in the kiln, fused glass can develop residue from kiln wash, shelf paper, or devitrification (a cloudy film caused by excessive heat or impurities). Cleaning is essential to restore clarity and shine.
- Warm Water & Dish Soap: For lightly dusty pieces, a simple wash with warm water and mild soap can remove debris.
- Vinegar or Glass Cleaner: For stubborn marks, a vinegar soak or a specialized glass cleaner can help restore brilliance.
- Dremel with a Felt Polishing Wheel: For fused glass with light scum or haze, a polishing tool can gently buff out imperfections.
If devitrification (a cloudy, dull surface) has occurred, a light sanding followed by fire polishing may be necessary to regain transparency.
Coldworking: Refining Edges and Shapes
Even with precise kiln firing, edges may need refinement. Coldworking refers to any shaping, smoothing, or polishing done outside of the kiln.
- Diamond Hand Pads or Sandpaper (Wet/Dry) — For light smoothing, starting with a coarse grit (such as 100−200) and moving up to finer grits (600−800) helps refine edges.
- Glass Grinder — An electric grinder with a diamond bit can reshape uneven edges and remove sharp points efficiently.
- Lapidary Wheel — For a high-gloss, professional finish, a series of polishing wheels with increasingly fine abrasives can create a flawless edge.
Example: If a pendant’s edges feel too rough for comfortable wear, using a glass grinder to round them off and a polishing wheel for a glossy finish will make it more suitable for jewelry.
Drilling and Assembly
If your piece is meant to be part of a larger project—such as a pendant, wind chime, or stained glass panel—you may need to drill holes or attach additional elements.
- Diamond Drill Bits: Using a drill press or handheld rotary tool with a diamond bit allows for precise holes without shattering the glass. Always keep the surface wet and drill slowly to avoid cracking.
- UV Resin or Epoxy Adhesive: For assembling fused glass with metal findings or other materials, a strong, transparent adhesive ensures a secure bond.
Fire Polishing for a Final Shine
If grinding or sanding leaves your piece looking dull, a fire polish cycle in the kiln can restore smoothness and luster. This involves heating the glass just enough (around 1350°F/732°C) to slightly soften the surface, allowing it to re-melt into a glossy finish without changing its overall shape.
However, excessive heat during fire polishing can cause distortion, so monitoring the kiln closely and adjusting the schedule based on glass thickness is crucial.
Example: A set of glass earrings that were sanded to remove rough edges may look matte after coldworking. A short fire polish brings back their shine without altering their shape.
Final Touches and Presentation
With the piece cleaned, smoothed, and polished, the last steps involve any decorative enhancements, protective coatings, or framing if necessary.
- Engraving or Sandblasting: Adding texture or designs through etching techniques can enhance the visual appeal.
- Protective Coatings: UV sealants or glass coatings can prevent weathering, especially for outdoor pieces.
- Mounting or Framing: If incorporating into metalwork, wood, or mixed media, securing the piece properly ensures longevity.
By taking the time to refine and perfect your fused glass after firing, you ensure that your work not only looks stunning but also remains durable and functional for years to come.
Overcoming Common Fusing Challenges
Glass fusing is a rewarding art form, but even experienced artists encounter unexpected issues during the process. From bubbles trapped in layers to devitrification dulling the surface, understanding why these problems occur and how to prevent them can significantly improve your results. By refining firing schedules, adjusting preparation techniques, and troubleshooting kiln behavior, you can create consistently smooth, well-fused glass pieces.

Trapped Bubbles: Preventing Unwanted Air Pockets
One of the most common issues in fusing is the formation of bubbles between glass layers. While some designs incorporate bubbles intentionally for a decorative effect, unintended air pockets can create structural weaknesses or distort the final piece.
Why does it happen?
- Air gets trapped between glass layers during heating.
- The kiln heats too quickly, not allowing air to escape.
- Uneven thickness in the glass layers prevents proper airflow.
How to fix it:
- Slower Firing Schedule: A gradual heat increase, especially in the range of 1100−1250°F (593−677°C), allows air to escape before the glass seals shut.
- Bubble Soak: Holding the temperature for 30−60 minutes around 1250°F (677°C) gives trapped air more time to escape.
- Thinning Edges: Grinding a slight bevel around the edges of stacked glass pieces can help air escape before the layers fuse.
- Proper Cleaning: Any dust, oil, or fingerprints can prevent full contact between layers, increasing the risk of bubbles forming.
Example: A fused glass plate with multiple layers developed large bubbles in the center. By slowing the firing process and adding a bubble soak hold, the next attempt produced a smoother surface with minimal air pockets.
Devitrification: Avoiding Cloudy or Rough Surfaces
Devitrification occurs when the glass crystallizes instead of melting smoothly, resulting in a dull, rough, or scaly surface. This issue is often caused by impurities, overheating, or improper cooling.
Why does it happen?
- Overfiring leads to surface degradation.
- Contaminants such as fingerprints, kiln wash residue, or glass dust interfere with fusing.
- Holding at high temperatures for too long encourages crystal growth.
How to fix it:
- Thorough Cleaning: Before fusing, clean the glass with alcohol or a vinegar-based solution to remove dust and oils.
- Avoid Overfiring: Keeping the peak temperature under control and reducing hold times at high heat prevents the glass from crystallizing.
- Use a Protective Coating: A light layer of devitrification spray (such as Spray A) can help maintain a glossy finish.
- Fire Polishing: If devitrification has already occurred, a fire polish cycle (around 1350°F/732°C) can restore a smooth surface.
Example: A glass pendant came out with a dull, rough texture after fusing. After applying a thin layer of devitrification solution and refiring at a lower peak temperature, the next attempt resulted in a glossy, polished surface.
Uneven Edges and Warping: Maintaining a Uniform Shape
Fused glass can sometimes warp or develop uneven, jagged edges if the temperature is too high or if the glass is not evenly supported in the kiln.
Why does it happen?
- The glass was fired too hot, causing excessive flow.
- Uneven glass thickness led to unpredictable movement.
- The shelf or mold was not level, causing one side to slump more than the other.
How to fix it:
- Control the Heat: Avoid exceeding the recommended full-fuse temperature for the type of glass you are using.
- Check Glass Thickness: Keeping an even thickness across the entire piece reduces stress during firing.
- Level the Shelf: Ensuring the kiln shelf is completely level prevents glass from slumping to one side.
Example: A fused glass bowl slumped unevenly to one side, creating an asymmetrical shape. By adjusting the kiln shelf and using a slower ramp-up, the next firing produced a balanced, even curve.
Glass Cracking: Preventing Thermal Shock
Few things are more frustrating than opening the kiln to find a piece has cracked or shattered. Glass is highly sensitive to temperature changes, and improper handling can lead to fractures.
Why does it happen?
- The kiln cooled too quickly, causing internal stress.
- Different COE (Coefficient of Expansion) glass types were mixed.
- The piece was removed from the kiln before it reached room temperature.
How to fix it:
- Slow, Even Cooling: Follow a proper annealing schedule, allowing the glass to cool gradually to release internal stress.
- Use Compatible Glass: Only fuse glass with the same COE to ensure even expansion and contraction.
- Wait for Full Cooling: Never remove glass from the kiln before it has reached room temperature to prevent thermal shock.
Example: A thick glass sculpture cracked down the center after cooling too quickly. Adjusting the annealing schedule with a slower cool-down phase prevented fractures in future firings.
Kiln Shelf Marks: Keeping the Underside Smooth
Sometimes, the bottom of a fused glass piece may have marks or rough patches from direct contact with the kiln shelf or fiber paper.
Why does it happen?
- The glass stuck to the kiln shelf due to insufficient separator (kiln wash or fiber paper).
- Fiber paper texture transferred onto the glass surface.
- The kiln shelf had imperfections that imprinted onto the glass.
How to fix it:
- Use Fresh Kiln Wash: A smooth, even layer of kiln wash prevents sticking and reduces texture transfer.
- Choose the Right Shelf Paper: Thinner fiber paper (1mm or less) leaves fewer marks than thicker varieties.
- Coldworking: If marks are already present, grinding and polishing the surface can smooth them out.
Example: A glass coaster had visible texture on the bottom after fusing on fiber paper. By switching to a smoother shelf separator and lightly sanding the underside, the final result was much more refined.
Every fusing challenge presents an opportunity to refine your technique. By understanding the causes of common issues and implementing small adjustments to your process, you can achieve more predictable and professional results in your fused glass creations. Whether it’s tweaking your firing schedule, fine-tuning preparation methods, or experimenting with new materials, troubleshooting is an essential part of mastering glass fusing.
Beyond the Basics: Exploring Advanced Glass Fusing
Once you’re comfortable with basic fusing, try incorporating metal inclusions, frit, or glass powder for more intricate designs. Learning how to slump glass into molds can also add depth to your creations.
Joining workshops or online communities can offer valuable insights and inspiration. The more you experiment, the more you’ll develop your unique style.
Glass fusing is a balance of science and art—each piece you create teaches you something new.
Whether you’re crafting for personal enjoyment or planning to refine your skills professionally, glass fusing is an endlessly rewarding journey filled with color, texture, and creative expression.