How to Fix a Broken Ceramic Plate Like a Pro
Restoring Ceramics: More Than Just a Repair
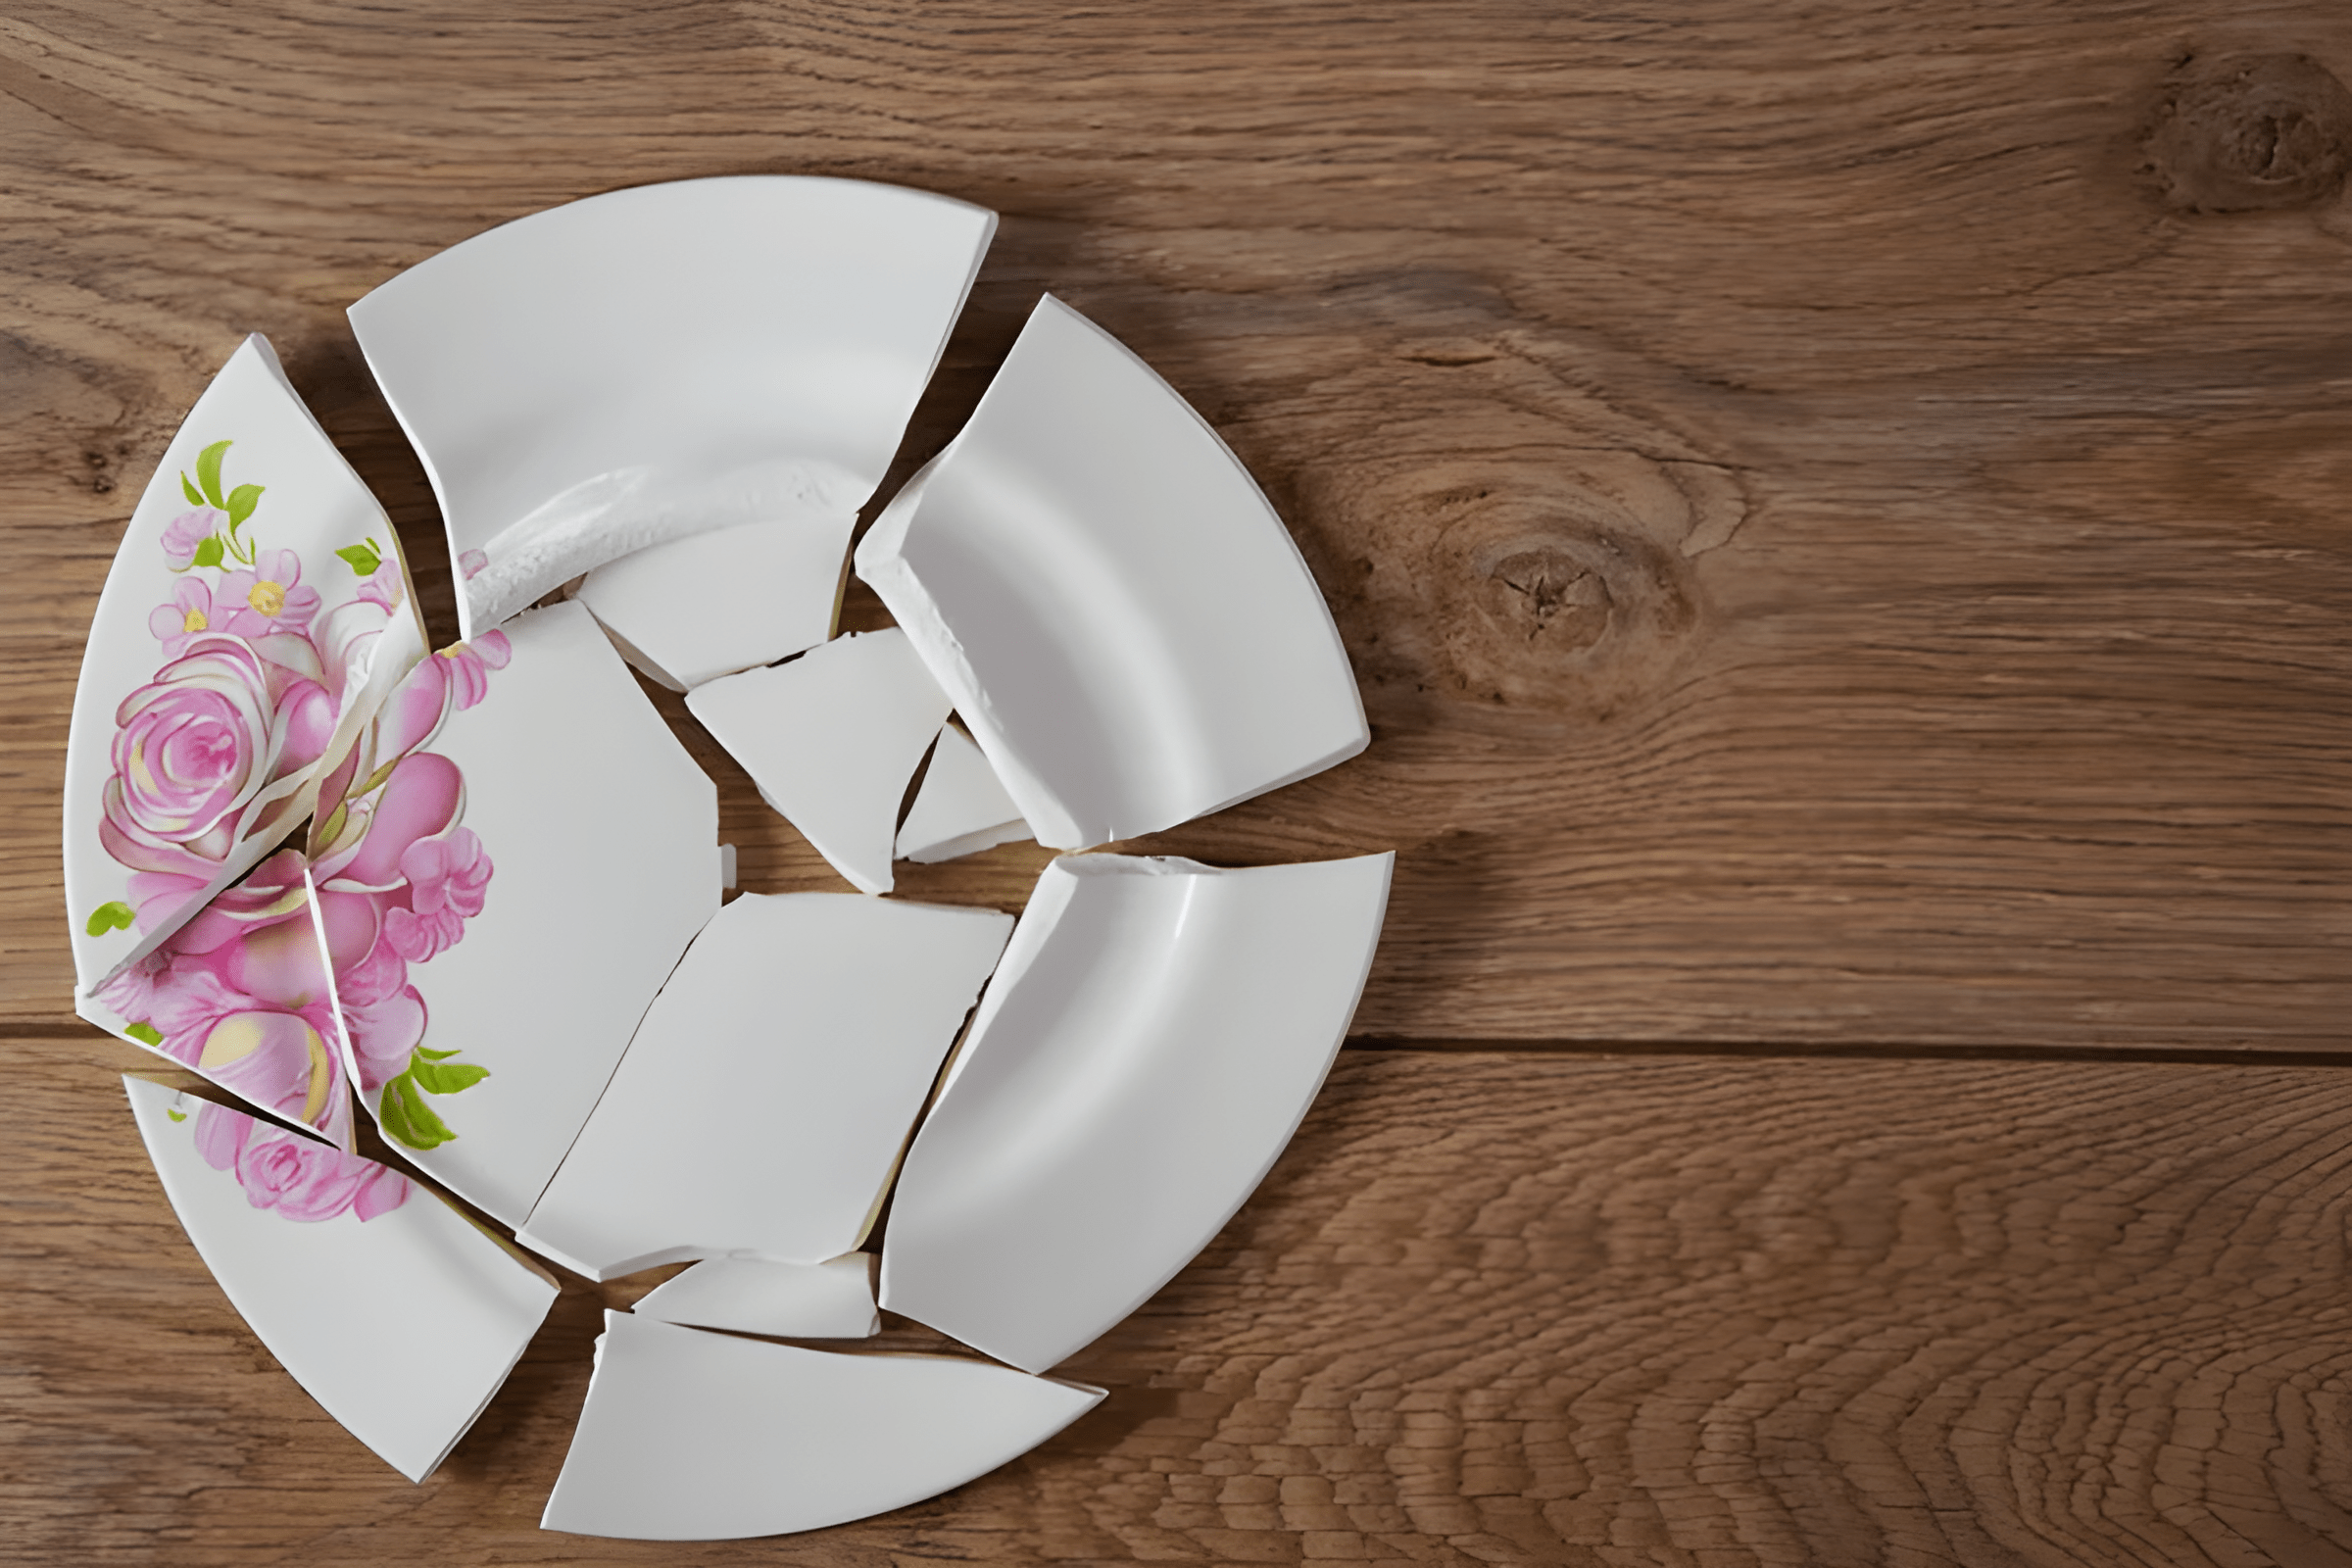
A broken ceramic plate can feel like a small tragedy, especially if it holds sentimental value. But before you discard it, consider the art of restoration. Repairing ceramics isn’t just about function—it's about preserving memories, reducing waste, and even creating something uniquely beautiful. With the right materials and a bit of patience, you can give new life to your cherished piece.
Fixing a ceramic plate allows you to embrace imperfections, turning damage into a story worth telling.
Types of Breaks: Knowing What You’re Dealing With
Not all ceramic breaks are the same, and recognizing the type of damage your plate has suffered is essential for choosing the right repair method. Some breaks can be seamlessly fixed, while others may require a more creative approach. Let’s explore the most common types of ceramic fractures and how they influence the restoration process.

Clean Breaks: A Puzzle to Reassemble
A clean break occurs when a plate splits into large, well-defined pieces without crumbling. These are the easiest to repair because the fragments fit back together precisely, much like a puzzle. Since the edges align neatly, a strong adhesive can create a nearly invisible seam, restoring both structure and appearance.
For the best results, ensure that both surfaces are free of dust and grease before applying adhesive. A perfectly clean surface helps the bond hold securely.
Chips: Small but Significant
Chips are small, broken fragments that detach from the plate’s rim or surface. While they may seem minor, they can weaken the structure and lead to further breakage over time. Repairing a chip often involves rebuilding the missing section using an adhesive mixed with a filler or a colored epoxy that blends with the ceramic.
If the missing piece is available, it can be reattached seamlessly. However, if it’s lost, creative solutions such as painting over the damaged area or using decorative techniques like gold-leaf repair can help disguise the flaw while adding character.
Shattered Pieces: A Complex Restoration
When a plate shatters into numerous small fragments, the challenge is not just reassembling the pieces but ensuring they stay together. In some cases, it may be impossible to retrieve all the fragments, leaving gaps that require filling. This type of damage demands patience, strong adhesives, and sometimes an artistic approach to embrace the imperfections rather than conceal them. <blockquote> The Japanese technique of Kintsugi—repairing ceramics with lacquer and gold dust—transforms shattered pieces into unique works of art, highlighting the breaks rather than hiding them. </blockquote>
Understanding the type of break is the first step in restoring your ceramic plate. Whether it’s a clean break, a small chip, or complete shattering, the right method can bring it back to life, preserving both its beauty and function.
Tools and Materials You’ll Need
Repairing a broken ceramic plate requires patience, precision, and the right tools. Whether you’re dealing with a simple crack or a shattered piece, having the appropriate materials on hand will make the process smoother and ensure a strong, lasting repair. Here’s what you’ll need to get started.
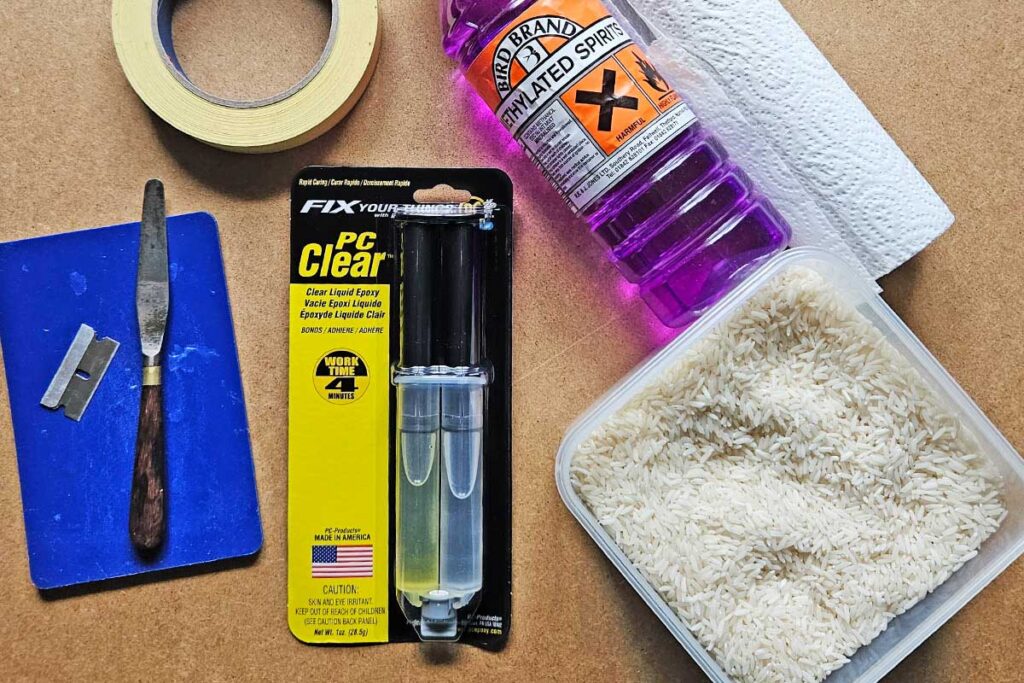
Adhesives: The Foundation of Any Repair
Choosing the right adhesive is crucial, as it determines the durability and finish of your repair.
- Ceramic adhesive: Specially designed for pottery and ceramics, this glue provides a strong, reliable bond.
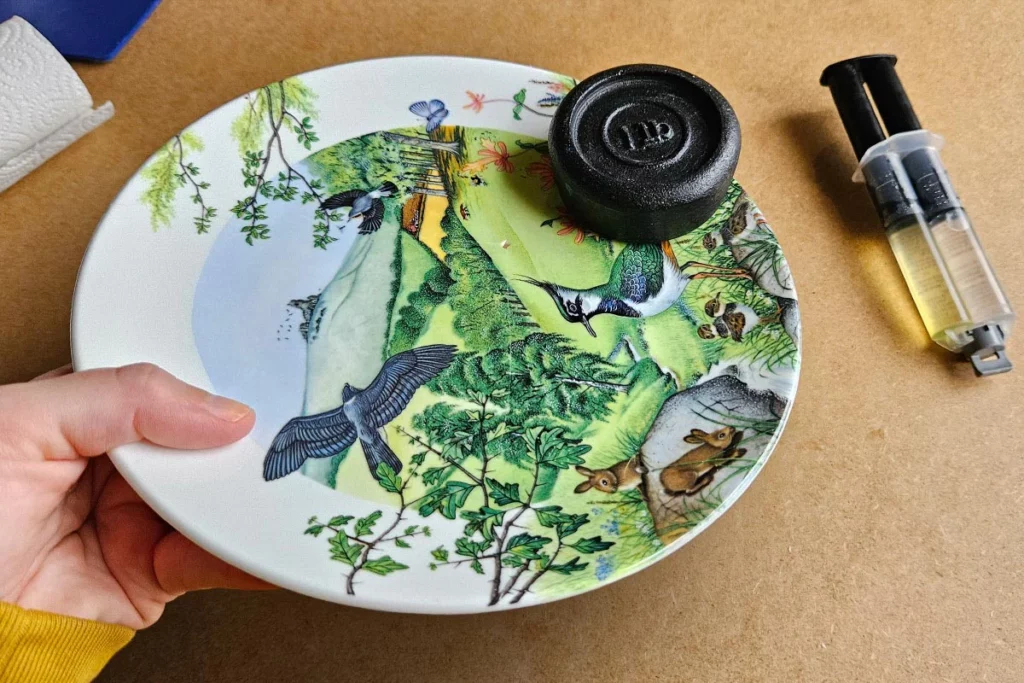
- Two-part epoxy: A powerful option that consists of resin and hardener, forming an exceptionally strong connection. It’s ideal for plates that will be used regularly.
- Super glue: Quick and effective for small breaks and chips, though it’s best for decorative pieces rather than those used for food.
Epoxy adhesives require careful mixing. Follow the manufacturer’s instructions to achieve the best bond.
Cleaning and Preparation Supplies
Before applying glue, the broken edges must be thoroughly cleaned to ensure proper adhesion.
- Rubbing alcohol and cotton swabs: Essential for removing grease, dust, and debris from the edges of the break.
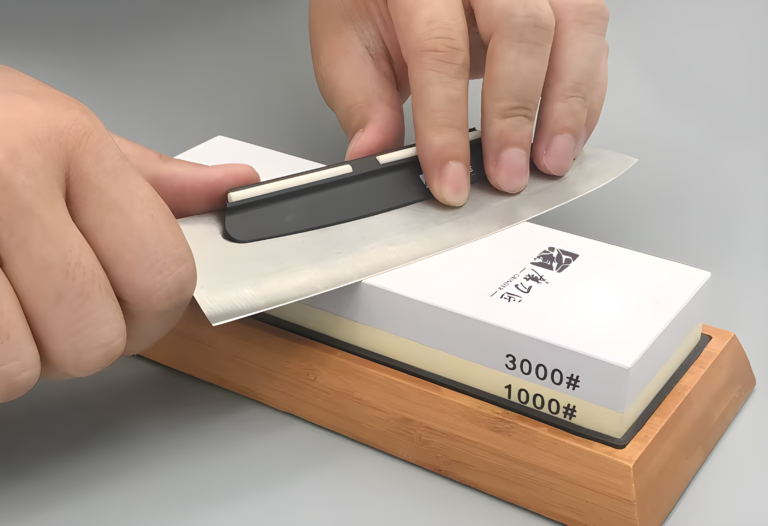
- Fine sandpaper or an emery board: Helps smooth rough edges, ensuring a tight fit.
- Soft cloth: Useful for wiping away any residue before and after the repair.
Tools for Precision and Alignment
Holding broken pieces in place while the adhesive sets is key to a seamless finish.
- Painter’s tape or rubber bands: Helps keep the plate steady as the adhesive cures.
- Tweezers: Useful for handling tiny fragments or intricate pieces.
- Disposable gloves: Protects your hands from adhesives and makes cleanup easier.
If your plate has multiple broken sections, work in stages—gluing two or three pieces at a time rather than tackling everything at once.
Optional: Materials for Decorative Repairs
If you want to enhance the appearance of your repair, consider these additional materials:
- Kintsugi repair kit: Includes lacquer and gold or silver powder for an artistic restoration.
- Ceramic filler or putty: Useful for rebuilding missing sections.
- Acrylic paint or food-safe glaze: Helps blend repaired areas with the original color of the plate.
Having these tools and materials ready before you start ensures a smoother repair process and a stronger, more attractive result. Whether aiming for an invisible fix or an artistic transformation, the right approach can bring your ceramic plate back to life.
Step-by-Step Guide to Fixing a Ceramic Plate
Restoring a broken ceramic plate is a rewarding process that requires careful attention to detail. Whether you want an invisible repair or a decorative touch, following the right steps will ensure a secure and long-lasting fix. Here’s a step-by-step guide to help you through the process.
Step 1: Assess the Damage
Before you begin, examine the break carefully. Determine whether you’re dealing with a clean break, small chips, or a shattered plate with multiple fragments. This assessment will help you decide on the best repair method and adhesive.
If your plate has shattered into many small pieces, gather as many fragments as possible before proceeding. Missing pieces can be filled later, but the more you recover, the better.
Step 2: Clean the Broken Edges
For a strong bond, the broken edges must be free of dust, grease, and debris.
- Use a soft cloth and rubbing alcohol to wipe down each broken surface.
- If there are sharp or uneven edges, gently smooth them with fine sandpaper or an emery board.
- Allow the surfaces to dry completely before applying any adhesive.
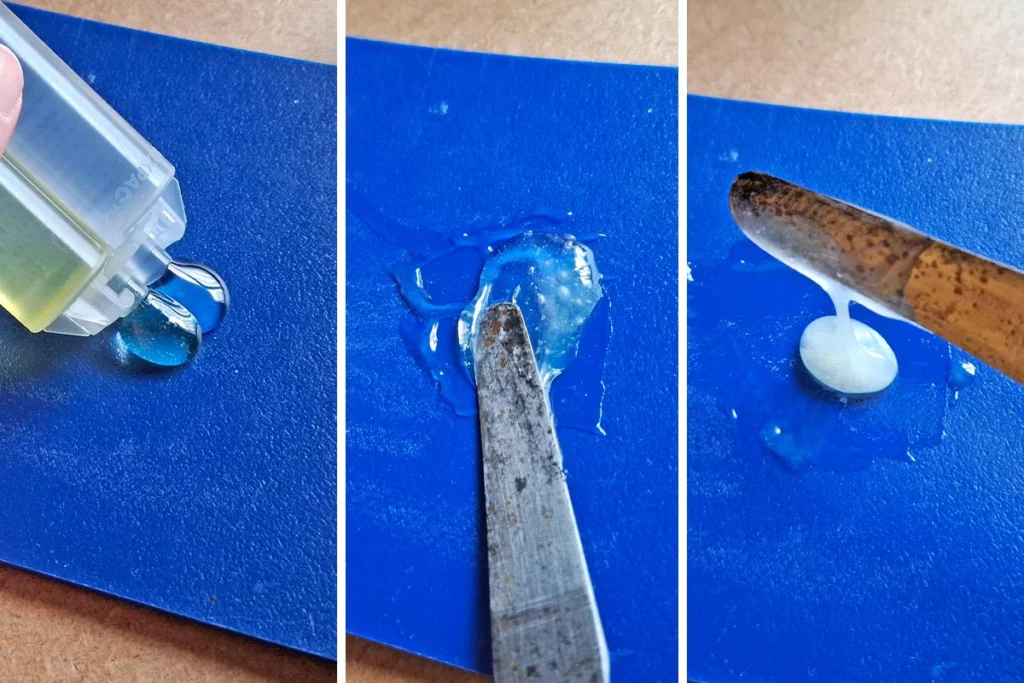
Step 3: Apply the Adhesive
Choose the right glue based on the type of break and the intended use of the plate.

- For strong and durable repairs, use a two-part epoxy. Mix equal amounts of resin and hardener, following the manufacturer’s instructions.
- For quick fixes, super glue works well on clean breaks but is less durable for everyday use.
Apply a thin layer of adhesive along one broken edge. Press the pieces together firmly, ensuring proper alignment. Hold them in place for a few minutes to set.
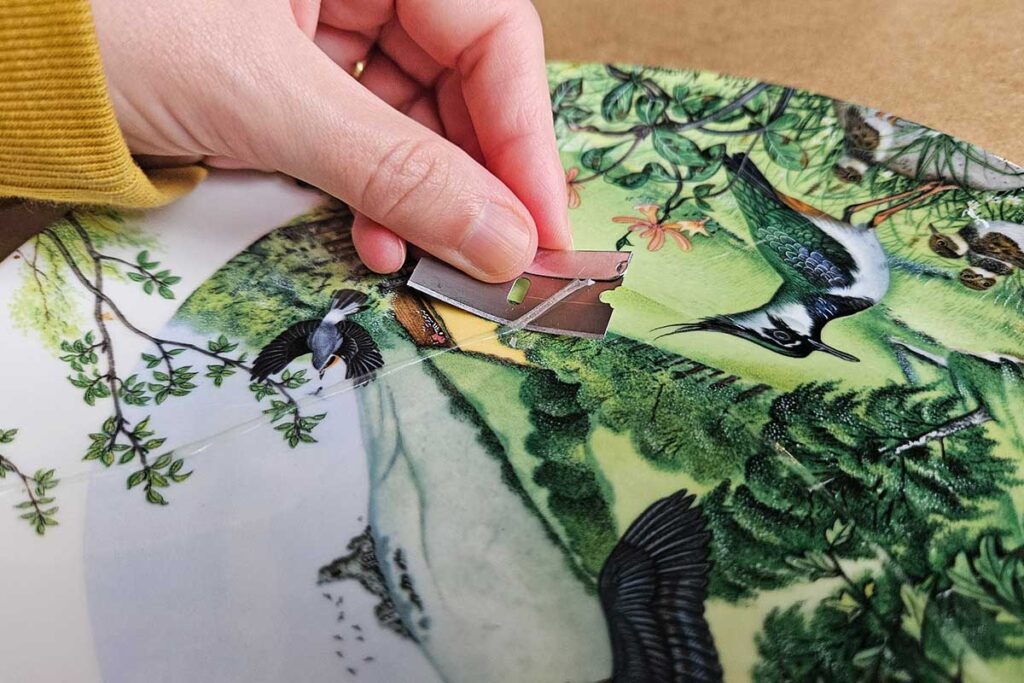
Avoid overapplying glue—it can seep out and create visible seams. If excess adhesive oozes out, wipe it away with a damp cloth before it dries.
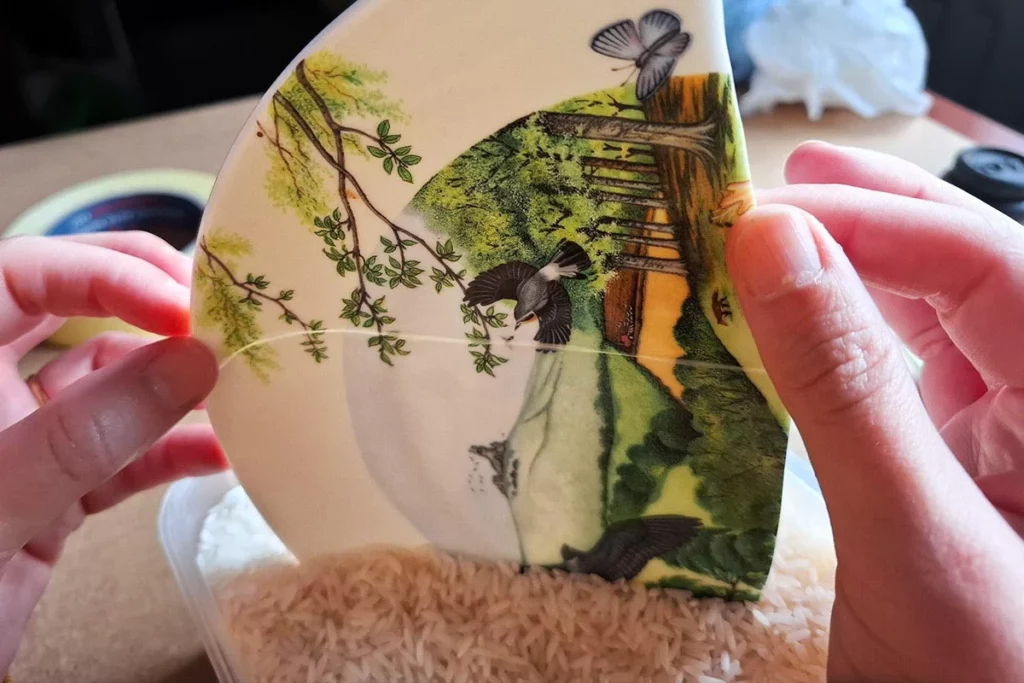
Step 4: Secure the Pieces
To ensure the plate holds together while the adhesive cures:
- Use painter’s tape or rubber bands to stabilize the pieces.
- If the plate has multiple broken sections, work in stages—gluing and securing a few pieces at a time rather than assembling everything at once.
- Let the adhesive cure for the recommended time. Epoxy may require several hours, while super glue usually sets within minutes.
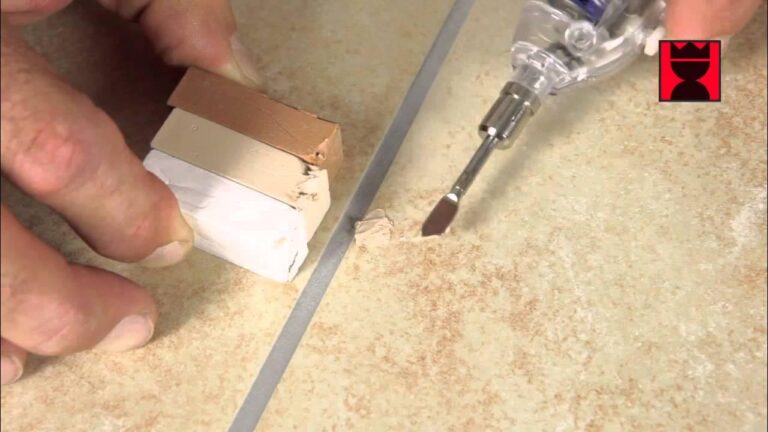
Step 5: Fill in Missing Pieces (If Needed)
If small fragments are missing, you can rebuild them for a seamless finish.
- Use a ceramic filler, wood putty, or baking soda mixed with super glue to fill gaps.
- Once dry, gently sand the repaired area for a smooth finish.
- If necessary, paint the filled section to match the original color of the plate.
Step 6: Enhance with Kintsugi (Optional)
For a decorative repair, the Japanese art of Kintsugi transforms cracks into gold-lined accents, celebrating the plate’s history rather than hiding its flaws.
- Mix lacquer with gold, silver, or bronze powder.
- Carefully apply it along the repaired cracks, emphasizing their beauty.
- Let it dry completely before using or displaying the plate.
Step 7: Let the Repair Cure Fully
Patience is key. Even if the adhesive seems dry, give the repair at least 24 hours before handling the plate or using it. Some adhesives take longer to reach full strength, especially for plates that will be washed or handled frequently.
Step 8: Maintain Your Repaired Plate
Once the repair is complete, take steps to ensure its longevity:
- Hand wash the plate with mild soap—avoid dishwashers, as heat and water pressure can weaken the bond.
- Keep it away from extreme temperatures, such as ovens or microwaves.
- Handle it with care, especially around the repaired areas.
A properly repaired plate can last for years. With careful handling, it can continue to serve both a functional and sentimental purpose.
Following this step-by-step process ensures that your ceramic plate is not only restored but also strengthened, ready to reclaim its place in your home.
Alternative Repair Methods
While adhesives are the go-to solution, some alternative techniques offer creative or natural approaches to repairing ceramic plates.
- Milk Repair: Surprisingly, simmering broken ceramic in milk can help mend cracks. The casein protein acts as a natural adhesive, bonding the broken pieces.
- Baking Soda Reinforcement: Combining baking soda with super glue strengthens the bond, filling in small gaps for added durability.
- Sugru Moldable Glue: This flexible adhesive is ideal for irregular cracks, providing a firm yet slightly flexible hold.
- Kintsugi: The Japanese art of mending ceramics with lacquer and gold powder transforms cracks into decorative features, celebrating the beauty of imperfection.
Maintaining Your Repaired Plate
Once restored, proper care extends the plate’s longevity:
- Gentle Cleaning: Hand wash with a soft sponge and mild detergent. Avoid harsh scrubbing.
- Temperature Precautions: Repaired ceramics should not be exposed to extreme heat—avoid microwaves and ovens.
- Handle with Care: While strong, repaired areas remain more fragile than the original ceramic.
- Regular Inspections: Check for signs of wear and apply touch-ups if needed.
A well-maintained repaired plate can last for years, blending function with history.
Fixing a broken ceramic plate isn’t just a repair—it's an opportunity to breathe new life into something meaningful. Whether you’re aiming for a near-invisible mend or embracing the beauty of Kintsugi, restoration is a rewarding process. So next time a plate breaks, don’t toss it—transform it.