How to Safely Add Drainage Holes to Ceramic Pots
A beautiful ceramic pot can be the perfect home for your favorite plants, but if it doesn’t have a drainage hole, you might be setting your greenery up for trouble. Without a way for excess water to escape, your plants are at risk of root rot and other moisture-related issues. While some gardeners use pebbles or activated charcoal to help with drainage, the most effective solution is to create a hole in the bottom of the pot. It may seem intimidating to drill into ceramic, but with the right tools and techniques, you can do it safely and effectively.
Drainage is one of the most overlooked aspects of plant care, yet it’s essential for healthy roots and long-lasting greenery.
Why Does Drainage Matter?
Plants need a balance of water and air in their soil. When excess moisture has no way to escape, the soil becomes waterlogged, suffocating the roots and encouraging the growth of fungi and bacteria. This not only weakens the plant but can also lead to complete root failure.
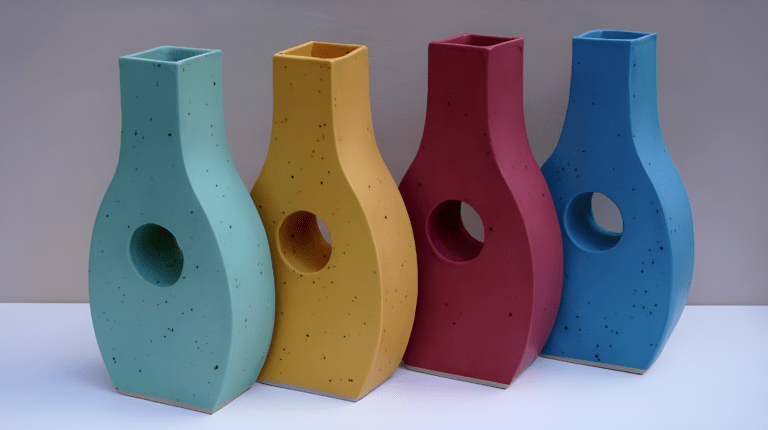
Ceramic pots, unlike terracotta, are often glazed and non-porous, which means they don’t allow water to evaporate as quickly. While this is great for retaining moisture in dry environments, it also increases the risk of water stagnation. If you love using ceramic pots for their aesthetic appeal, adding a drainage hole is a simple way to make them more plant-friendly.
Good drainage isn’t just about avoiding root rot—it also helps regulate soil nutrients, prevent salt buildup, and improve overall plant health.
The Tools You’ll Need
Before you start drilling, it’s important to gather the right tools. Not all drill bits are suitable for ceramic, and using the wrong one can easily crack or shatter your pot.
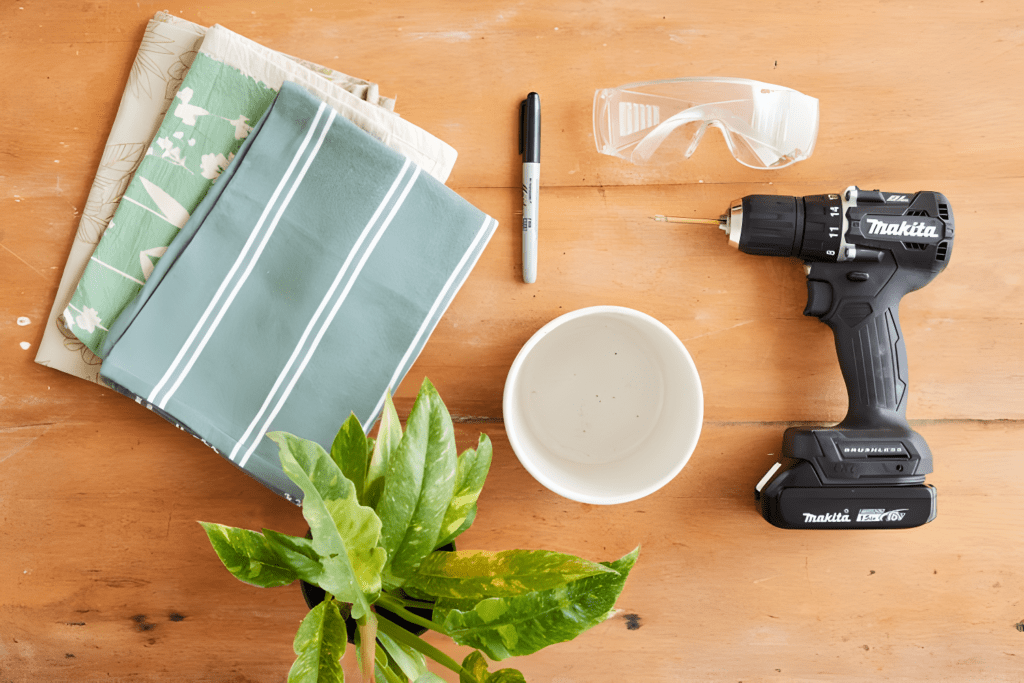
Here’s what you’ll need:
- A power drill with adjustable speed settings
- A diamond-tipped or carbide drill bit designed for ceramic
- Masking tape to help stabilize the drill bit
- A spray bottle with water to reduce heat buildup
- Safety goggles and a dust mask for protection
- A damp sponge to wipe away ceramic dust
- Fine-grit sandpaper to smooth rough edges after drilling
Taking these precautions ensures a cleaner, safer drilling process with minimal risk of damaging your pot.
Drilling ceramic requires patience and the right tools—rushing the process can lead to costly breakage.

How to Drill a Drainage Hole in a Ceramic Pot
Drilling a hole in a ceramic pot requires patience, the right tools, and careful technique to avoid cracks or breakage. Since ceramic is a brittle material, applying too much pressure or using the wrong drill bit can easily result in damage. The key to success lies in controlled drilling, proper preparation, and maintaining a steady hand throughout the process.
Preparing the Pot for Drilling
Before you begin, ensure that the pot is clean and completely dry. Any moisture trapped in the ceramic can affect the drilling process, making the material more prone to cracking. If the pot has a glazed finish, the slippery surface can cause the drill bit to slide, so marking the spot with a permanent marker and placing masking tape over it will help keep the drill steady.
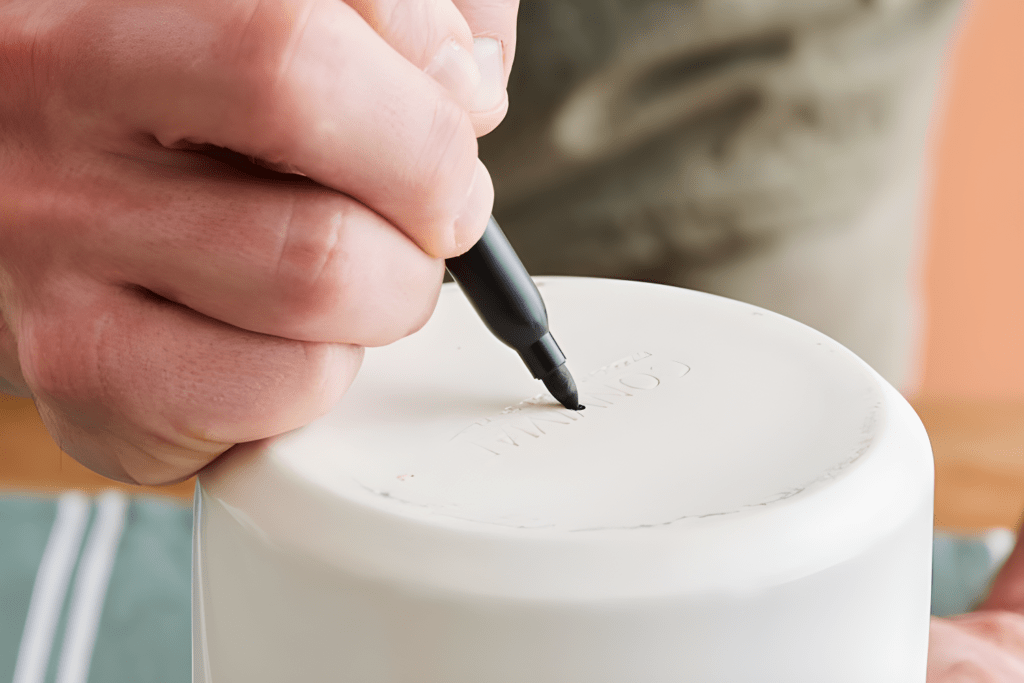
Using masking tape over the drilling spot provides grip for the drill bit and reduces the risk of chipping the glaze.
It’s also important to choose a stable work surface. Placing a towel or a rubber mat under the pot will help absorb vibrations and keep it from shifting while you drill. If the pot is large, you might need to secure it with a clamp or have someone hold it in place.
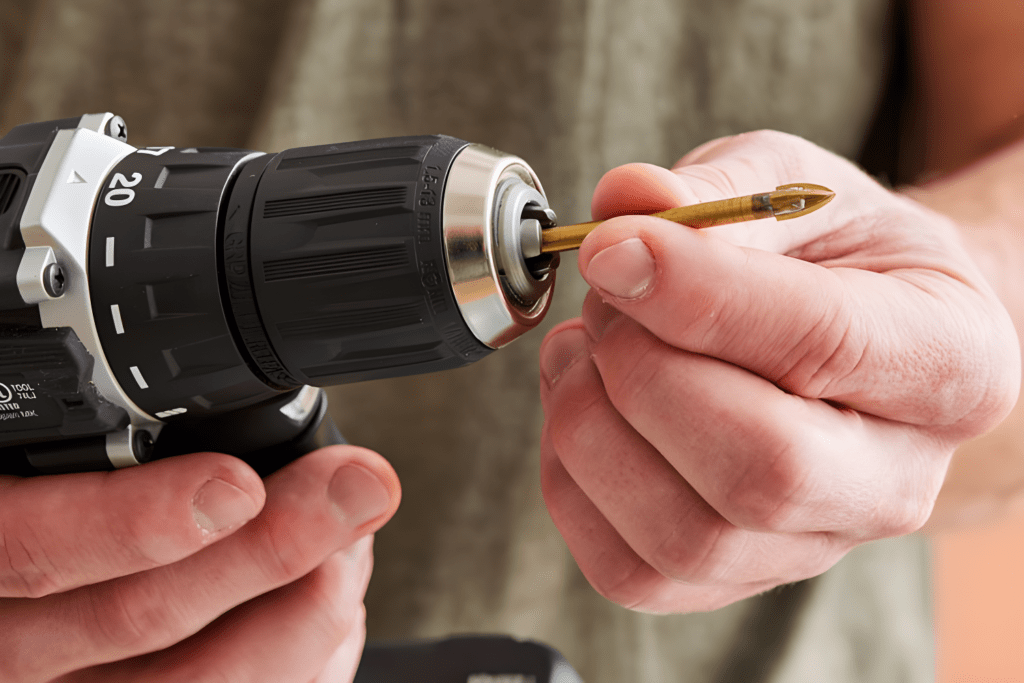
Selecting the Right Drill Bit
Not all drill bits are suitable for ceramic. Standard metal or wood bits won’t work, as they can dull quickly and cause excessive pressure on the pot. Instead, use a diamond-tipped or carbide-tipped drill bit, which is designed to cut through hard surfaces without causing cracks. Diamond bits are preferred for their precision and durability, while carbide-tipped bits are a more budget-friendly option.
If you’re drilling a large drainage hole, a ceramic hole saw attachment may be a better choice. This type of drill bit is ideal for creating clean, wide openings without excessive force.
Drilling Techniques to Prevent Cracks
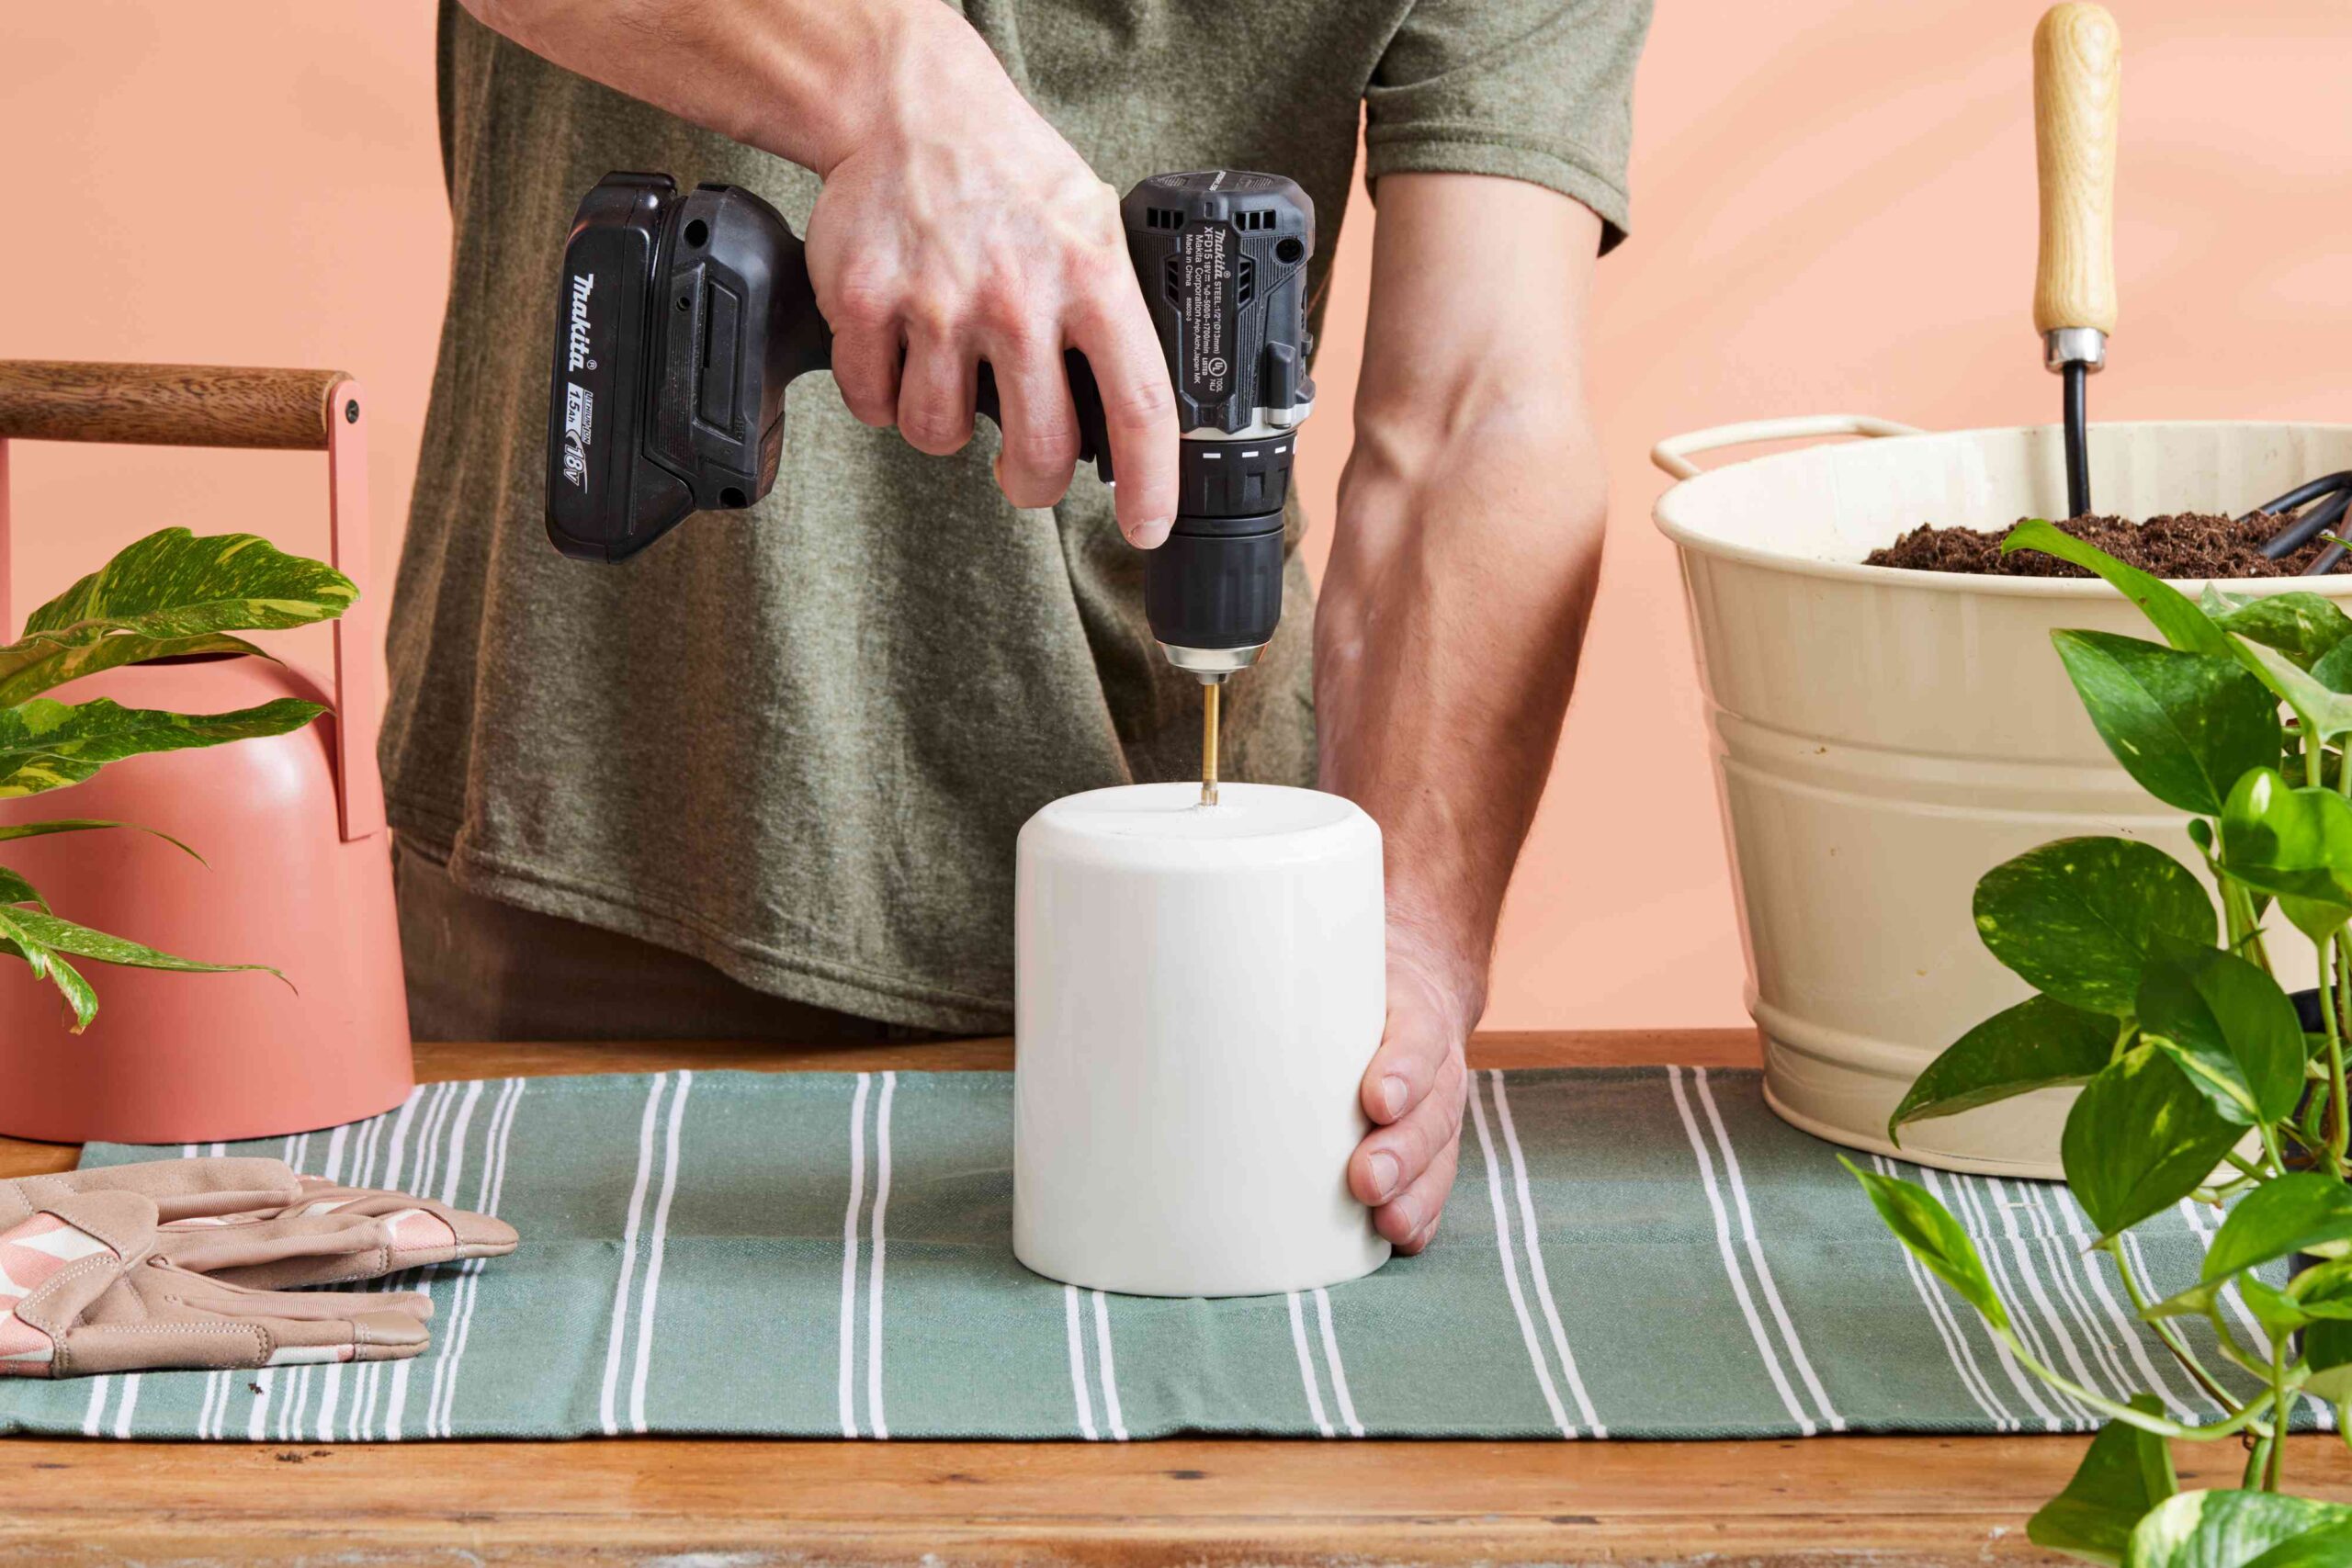
The most crucial part of drilling a ceramic pot is controlling the pressure and speed. Set your drill to low speed and apply gentle, consistent pressure. If you push too hard, the ceramic may crack, but too little pressure might cause the bit to slip.

- Start at an angle: Begin drilling at a 45-degree angle until the bit grips the surface. Once the bit creates a small indentation, slowly straighten it to a 90-degree angle to continue drilling.
- Keep it cool: Overheating can weaken the ceramic and increase the risk of fractures. To prevent this, frequently spray water on the drilling site to reduce heat buildup.
- Let the drill do the work: Avoid forcing the drill. The weight of the tool itself should be enough to gradually penetrate the ceramic.
Drilling too fast generates excess heat, which expands the ceramic and makes it more likely to crack. Slow and steady wins the race.
Alternative Methods for Creating a Drainage Hole in a Ceramic Pot
Drilling is the most common way to add a drainage hole to a ceramic pot, but it’s not the only method. If you don’t have access to a drill or want to explore other options, there are alternative techniques that can help create proper drainage without the risk of cracking the pot. Some methods require specialized tools, while others rely on simple household items.
Using a Nail and Hammer
One of the simplest methods involves a sturdy nail and a hammer. This technique works best on unglazed or thinner ceramic pots, as extremely thick or heavily glazed ceramics are more resistant to impact.
- Place a small wooden block or folded towel inside the pot to provide support and absorb vibrations.
- Position the tip of the nail at the desired spot and lightly tap it with the hammer.
- Continue tapping gently until the ceramic begins to chip away, forming a hole.
This method requires patience, as striking too hard can shatter the pot. To improve accuracy, start with a very fine nail and gradually increase the hole size using a slightly larger one.
For fragile ceramics, applying steady, controlled pressure with the hammer—rather than forceful blows—helps reduce breakage.
Carving with a Rotary Tool
If precision is your goal, a Dremel or other rotary tool equipped with a diamond grinding bit can help you create a drainage hole with minimal risk of breakage.
- Secure the pot on a non-slip surface to prevent movement.
- Mark the drilling spot and begin grinding in a circular motion rather than applying direct downward force.
- Keep the area cool by periodically dipping the bit in water.
This method is ideal for creating multiple small holes rather than a single large one, making it perfect for plants that require even drainage distribution.
Hammer and Chisel Technique
For a more manual approach, a small chisel or flat-head screwdriver can be used to chip away at the ceramic. This method is especially effective on terracotta or porous ceramics but may be risky for fully glazed pots.
- Use a marker or masking tape to define the hole’s boundaries.
- Hold the chisel at a slight angle and gently tap the end with a hammer to remove small bits at a time.
- Continue working around the perimeter until the hole is complete.
Since this method involves breaking the ceramic surface, it may leave rough edges, which should be smoothed with sandpaper or a ceramic file afterward.
Creating a False Drainage System
If drilling or breaking the ceramic isn’t an option, an alternative is to create an internal drainage layer. This approach allows excess water to drain away from the plant’s roots without needing a hole.
- Add a layer of coarse gravel, small pebbles, or activated charcoal to the bottom of the pot.
- Place a piece of landscape fabric or mesh over the drainage material to prevent soil from washing down.
- Use a well-draining potting mix that retains moisture without becoming overly saturated.
While this method won’t completely replace proper drainage, it can help reduce the risk of root rot in pots without holes.
Using a Tile Cutter or Glass Cutter
For those comfortable with more advanced tools, a tile cutter or glass cutter can be used to score the ceramic surface before applying pressure to break through cleanly. This technique requires a steady hand and patience, as excessive force can lead to uneven breaks.
- Score a circular outline on the ceramic surface where the hole will be.
- Apply light but consistent pressure to gradually deepen the groove.
- Once the scored line is deep enough, carefully tap around it until the center piece loosens.
This method is best suited for thin-walled ceramic pots and may not work well on heavily glazed surfaces.
Final Steps: Caring for Your Modified Pot
OAfter successfully creating a drainage hole in your ceramic pot, a few final steps will help ensure that it remains functional and safe for your plants. Proper finishing touches will prevent damage to plant roots, strengthen the pot’s structure, and enhance its longevity.
Smoothing the Edges
Once the hole is made, it’s important to check for sharp or jagged edges that could potentially damage plant roots or cause injury when handling the pot.
- Use fine-grit sandpaper, a ceramic file, or an emery board to gently smooth the inner and outer edges of the hole.
- For glazed ceramic pots, a diamond file works best to remove rough spots without causing further cracks.
- If the hole is large or uneven, consider applying ceramic sealant around the edges to reinforce the area.
Ensuring a smooth, clean hole minimizes the risk of roots getting damaged when they grow through the drainage opening
Testing the Drainage Efficiency
Before planting, it’s a good idea to test how well water drains through the new hole.
- Place the pot over a sink or outdoor area and pour a small amount of water into it.
- Observe if the water flows freely or pools at the bottom.
- If drainage is slow, gently widen the hole with sandpaper or a rotary tool.
In some cases, adding multiple small holes instead of one large one improves water flow and prevents excess moisture from accumulating in certain areas of the soil.
Protecting the Surface Under the Pot
A pot with a new drainage hole may now require a saucer to catch excess water and prevent it from damaging furniture, windowsills, or floors.
- Use a ceramic or plastic saucer that is slightly larger than the base of the pot.
- If placing the pot on a wooden surface, consider using a cork or rubber pad to prevent water stains.
- For outdoor pots, elevate them slightly using pot feet or small stones to promote airflow and prevent water buildup underneath.
Preventing Soil Loss with a Barrier
Since the new hole provides a direct opening for water to escape, it’s important to prevent soil from washing out along with it.
- Place a small piece of mesh, coffee filter, or landscape fabric over the hole before adding soil.
- This barrier will allow water to drain while keeping soil particles inside the pot.
- Avoid using large stones at the bottom, as they can actually hinder drainage rather than improve it.
A well-placed barrier helps maintain soil structure while ensuring proper drainage without clogging the hole.
Reinforcing the Pot if Needed
If the drilling process caused minor cracks or weakened the ceramic, you can reinforce the pot to extend its lifespan.
- Apply a thin layer of waterproof ceramic glue around the hole to seal any micro-cracks.
- If a larger crack develops, consider using epoxy resin to stabilize the area and prevent further damage.
- For decorative pots, a layer of clear varnish over the repaired area can help maintain the pot’s appearance.
Planting and Watering Considerations
With the pot modified and ready for use, choosing the right soil mix and watering routine will ensure the best growing conditions for your plants.
- Select a well-draining soil mix suited to your plant’s needs. Succulents and cacti, for example, require a mix with sand or perlite for added aeration.
- Water thoroughly but allow excess water to completely drain before placing the pot in its final position.
- Monitor moisture levels, as ceramic pots—especially unglazed ones—tend to retain more water than plastic or terracotta.
A well-drilled drainage hole transforms a ceramic pot into a functional, plant-friendly container. Taking the time to smooth edges, test drainage, and reinforce the pot ensures it will remain a safe and durable home for your plants. With proper care, your modified pot will not only support healthy root growth but also maintain its aesthetic appeal for years to come.